 This post is part of a series of posts on Jet Reports.
In the last post, I covered the creation of the project; in this post, I’m going to cover the configuration of the project in the Connection Manager which tells the project which Microsoft Dynamics GP system it is to run against:
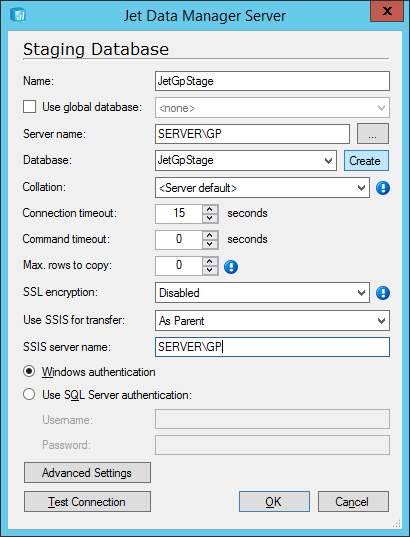
Click the pencil/spreadsheet icon next to the Staging database SQL Connection ‘JetGpStage’ on business unit ‘Business Unit’ to open the Jet Data Manager Server: Staging Database window.
Enter the full SQL Server instance name in the Server name field and click the Create button.
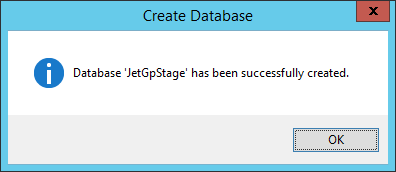
A confirmation dialog will be displayed when the database is successfully created; click OK to dismiss the message:
You will be returned to the previous window; enter the SSIS server name and click the OK button.
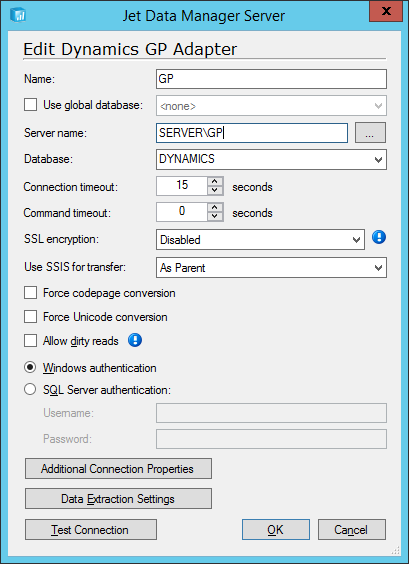
Click the pencil/spreadsheet button next to the GP Adapter ‘GP’ on business unit ‘Business Unit’ to open the Jet Data Manager Server: Edit Dynamics GP Adapter window.
Enter the full SQL Server instance name of the SQL Server; set the Database field to your system database name (Jet defaults to DYNAMICS13 so will always need to be changed.)
Click OK to proceed:
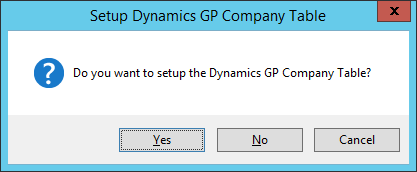
Click Yes on the Do you want to setup the Dynamics GP Company Table?:
The default settings for the GP Company Table Setup do not need to be changed; I’m not sure why, but Jet Reports themselves do not recommend marking Use All Companies so leave the two checkboxes at the bottom unmarked:
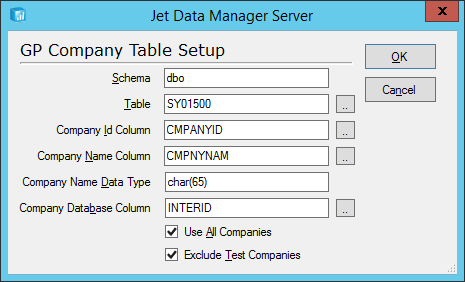
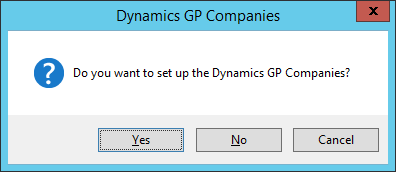
You’ll be dropped back to the main Connection Manager window; click the circular blue arrows to the right of the last button you clicked. Click Yes when prompted Do you want to set up the Dynamics GP Companies?:
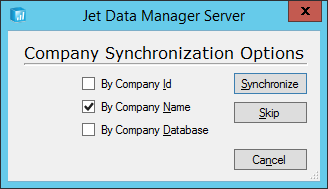
I didn’t change the Company Synchronization Options as I saw no need and just clicked the Synchronize button:
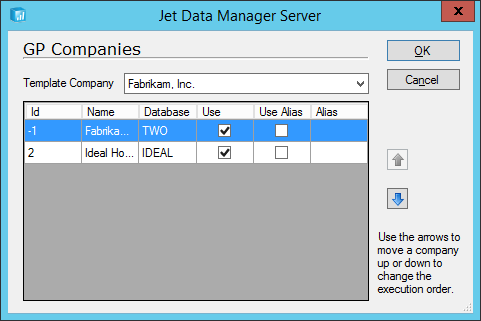
Select which comapnies should be used by marking the checkbox in the Use column and then click OK:
On the Updated Tables and Fields window click the Close button:
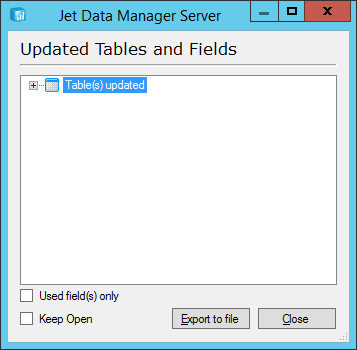
You’ll be returned to the Connection Manager window; click the pencil/spreadsheet icon next to SQL Connection ‘GOSQL’ on business unit ‘Business Unit’ to launch the Edit SQL Server Data Source window.
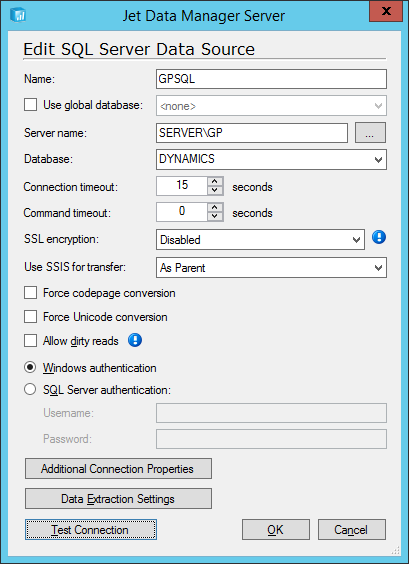
Enter the full SQL Server instance name in the Server name field.
Change the Database name field to the name of your system database (Jet defaults this to DYNAMICS13 and so will always need to be changed. Click OK to proceed:
Back on the main Connection Manager window, click the circular blue arrows next to the last button you clicked on the window. Click OK to close the Updated Tables and Fields window:
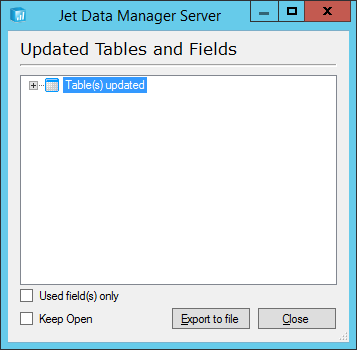
On the Connection Manager window, click the pencil/spreadsheet icon next to Data warehouse SQL connection ‘JetGpDwh’ to open the >em>Data Warehouse window.
Enter the full SQL Server instance name in the Server name field; click the Create button to create the database:
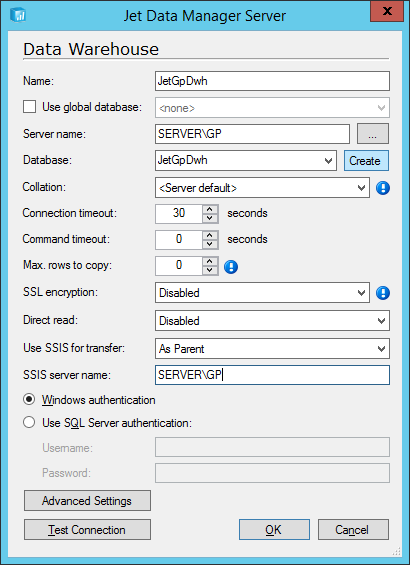
The full SQL Server instance name of the SSIS server name also needs to be entered. Confirm the creation was susccessful and click OK to return to the Connection Manager window.
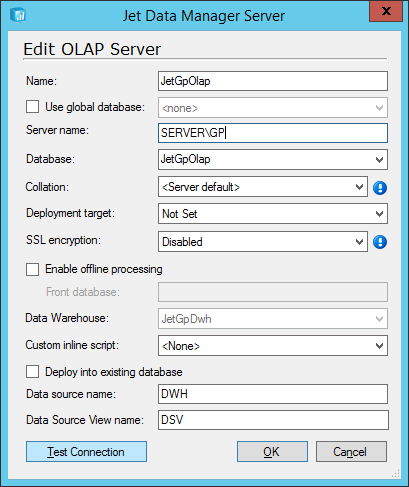
Click the pencil/spreadsheet icon next to OLAP server connection ‘JetGpOlap’.
Enter the full SQL Server instance name in the Server name field. Click the OK button to close the window:
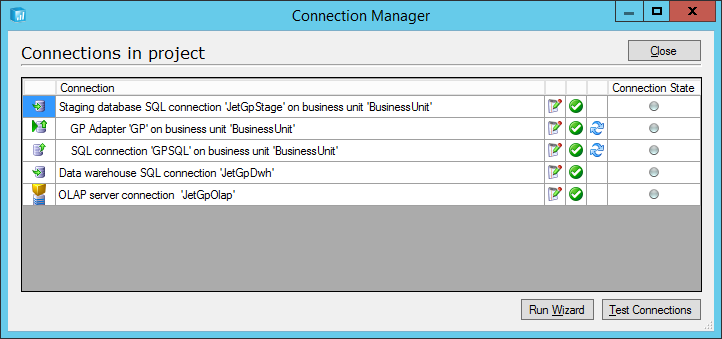
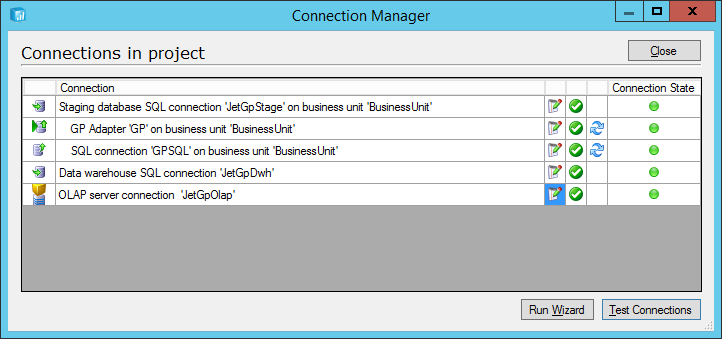
Back on the Connection Manager window, click the Test Connections button and ensure the Connection State icons go green:
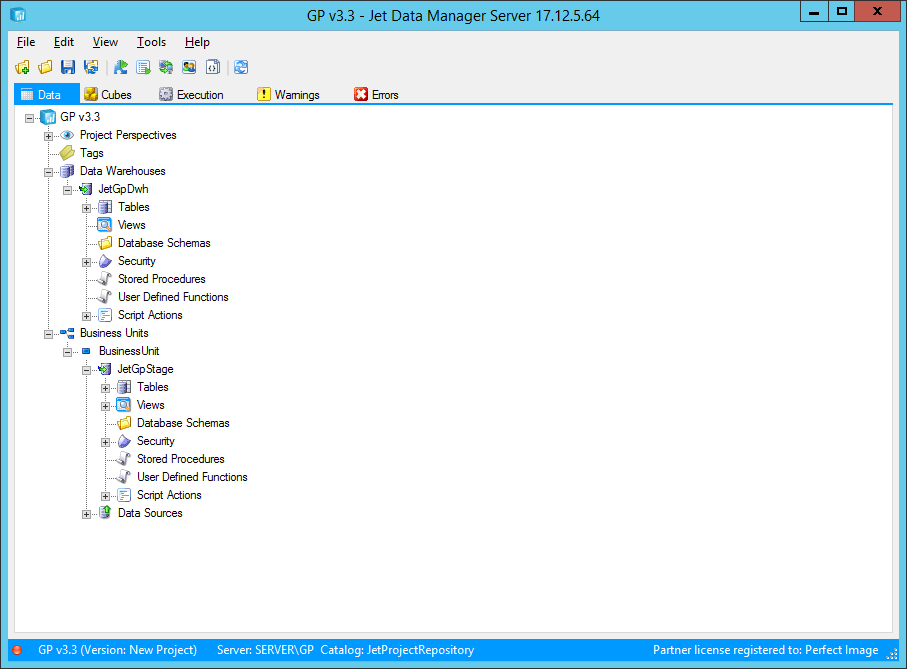
Click the Close button to return to the main Jet Data Manager Server window where you will see the project listed:
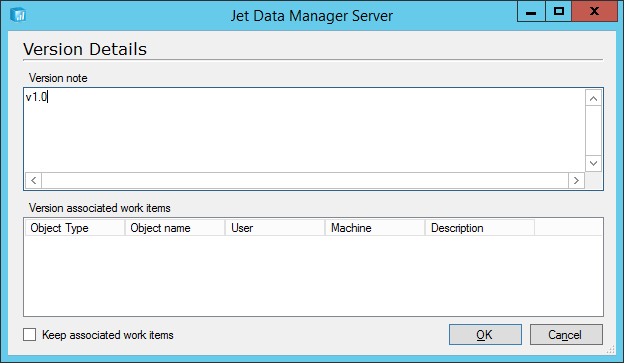
Save the project by clicking the Save button on the toolbar; in the Version Details window enter a Version note and click OK:
With the project now created and connections configured, the project can be worked with, but there are more steps required to make the project available which will be covered in the upcoming posts.
Click to show/hide the Implementing Jet Enterprise Series Index
What should we write about next?
If there is a topic which fits the typical ones of this site, which you would like to see me write about, please use the form, below, to submit your idea.




1 thought on “Implementing Jet Enterprise: Connection Manager”