 One of the really nice new features in Microsoft Dynamics GP 2013 SP2 is the SmartList Designer. This is, to an extent, a cut down replacement of SmartList Builder, which includes much, although not all, of the functionality and is more user friendly.
It also affords the opportunity to all clients to create a report which has long been missing from Microsoft Dynamics GP; a Vendor EFT SmartList which shows the EFT details against the Vendor Remit To Address.
In this post I am going to step through the process of creating this report.
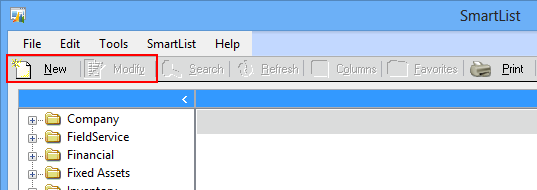
To start, open SmartList () and you will see two new buttons at the left of the toolbar; New and Modify (ringed in red):
Click the new button to open the SmartList Designer window.
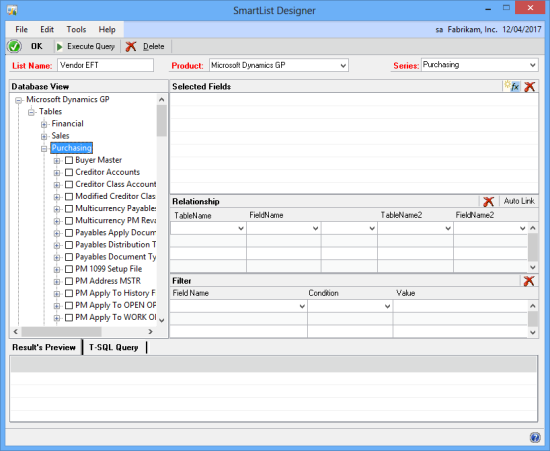
Set List Name to Vendor ID (this is the SmartList Object name), Product to Microsoft Dynamics GP and Series to Purchasing (this will add the new SmartList Object under the Purchasing node in the SmartList navigation pane):
The window is broken down into six main sections:
- List Name and Type – Defines what the SmartList Object’s name is, which product it is for and which Series it will be belong
- Database View – Allows the selection of tables and fields to use in the SmartList
- Selected Fields – Shows which fields have been selected for output
- Relationship – Allows the configuration of the links between the selected tables
- Filter – Allows filtering of the results
- Result’s PreviewAllows a preview of the data to be returned by the new SmartList
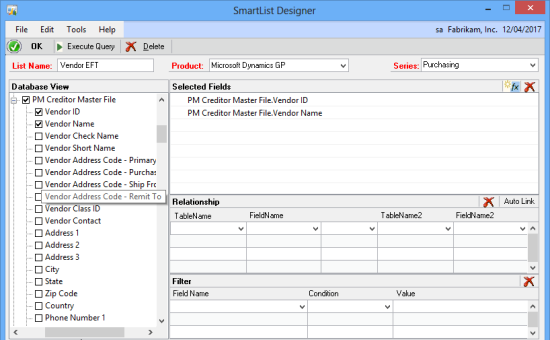
The first table we need to add is the PM Creditor Master File. To do this, in the Database View section, expand the Microsoft Dynamics GP node and then expand Tables and then Purchasing. Scroll down until you reach the PM Creditor Master File and, without marking the checkbox next to it (as this would select all columns in the table) expand the node. For this report I only need two of the fields from this table so I have marked only Vendor ID and Vendor Name.
As each field is marked it will appear in the Selected Field list:
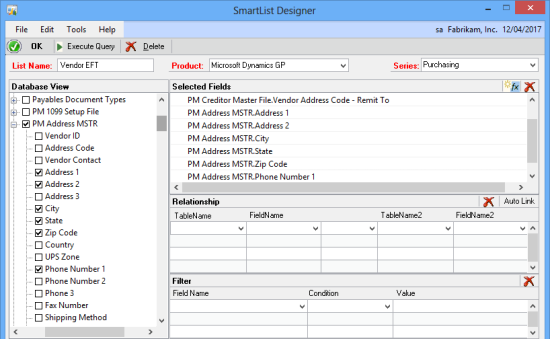
Next find PM Address MSTR and mark the Address 1, Address 2, City, State, Zip Code and Phone Number 1:
With these two tables added, we need to add a relationship between the two tables. In the first row, set the TableName to PM Creditor Master, FieldName to Vendor ID.
In the untitled middle column there are three choices:
- Left Join – A left join will show records which are in the first table even when they are not in the second one
- Inner Join – An inner join will only show rcords when they are in both tables
- Cross Join – A cross join will return data which exists in either table
In this instance the same data would be returned regardless of whether there is information in the second table so I have selected Left Join:
In TableName2 select PM Address MSTR and in FieldName2 select Vendor ID.
A second join between PM Creditor Master and PM Address MSTR is needed between Vendor Address Code – Remit To on the former and Address Code on the latter.
So far we have brought in the main vendor and vendor address tables, but we need a third table; the one containing the EFT details. Scroll up in the Database View section and expand Company and then expand the Address Electronic Funds Transfer Master table.
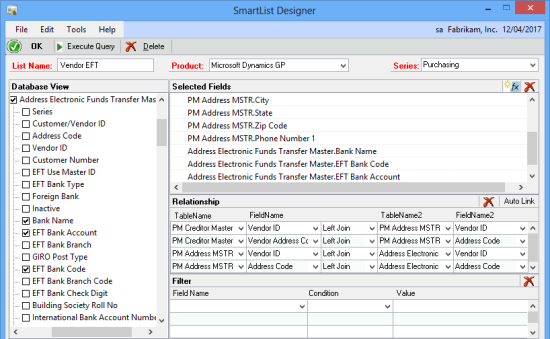
The three fields needed are Bank Name, EFT Bank Account and EFT Bank Code.
Once added, relationships are needed between PM Address MSTR and Address Electronic Funds Transfer Master using joins on the Vendor ID and Address Code fields which exist on both tables:
Once done, click Execute Query on the toolbar and check the output in the Result’s Preview section:
Click the T-SQL Query tab next to Result’s Preview to see the SQL which has been generated for the SmartList:
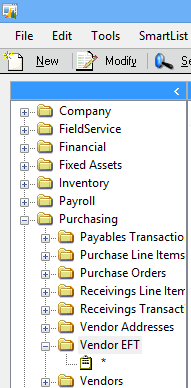
Click OK to save the SmartList. The new SmartList Object will appear in the navigation pane under Purchasing as Vendor EFT:
Select the SmartList to return the data as you would any other SmartList:
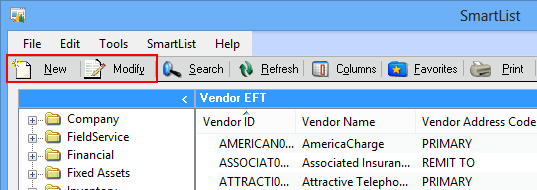
Now the SmartList has been created, it can be used as any toehr SmartList would be by saving favourites or using the search criteria to filter the data.
What should we write about next?
If there is a topic which fits the typical ones of this site, which you would like to see me write about, please use the form, below, to submit your idea.





There is no PM Credit Master Table in SmartList Designer
I’m in the UK and therefore have the UK language pack installed.
If you’re running US English or have another language pack installed it may say PM Vendor Master.