 This post is part of a series on Implementing SalesHQ Portal, which is one of the GP Elementz Portals from my new employer, ISC Software Solutions.
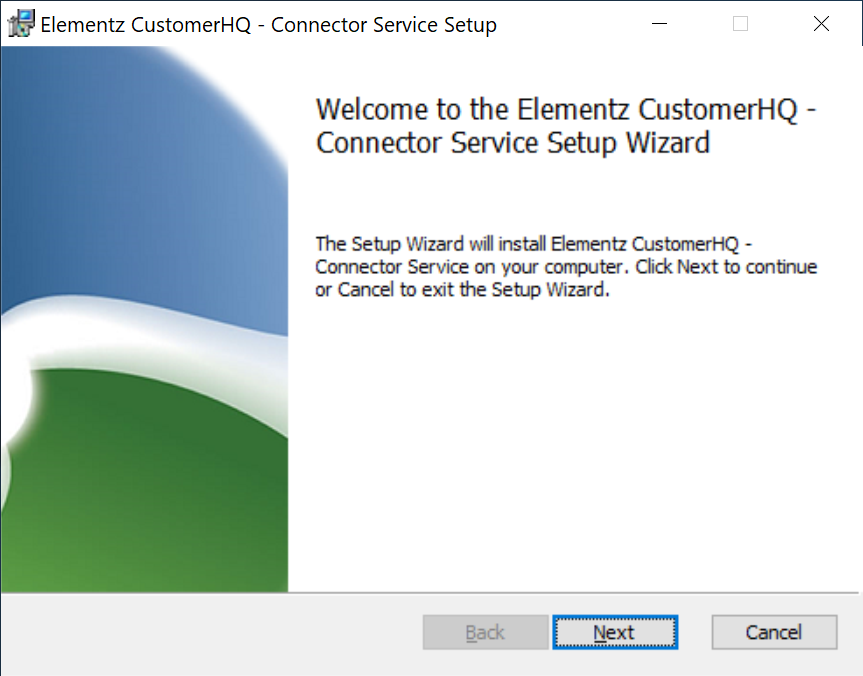
With the installers downloaded, the first one we’re going to install is the Connector Service. Do this by launching the the MSI installer using a Domain account which has permissions on SQL Server to create a database and tables, and, on the Welcome to the Elementz CustomerHQ – Connector Service Setup Wizard (as mentioned in a previous post, SalesHQ and CustomerHQ share a code base, with the license key differentiating which level of functionality is available, so this is the correct installer), click Next:
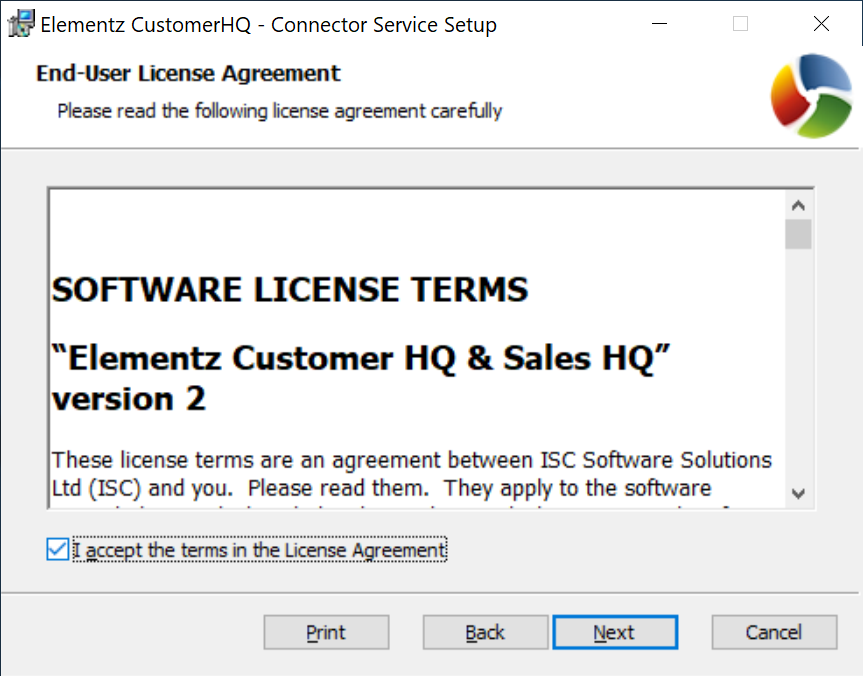
Accept the terms of the License Agreement and click Next:
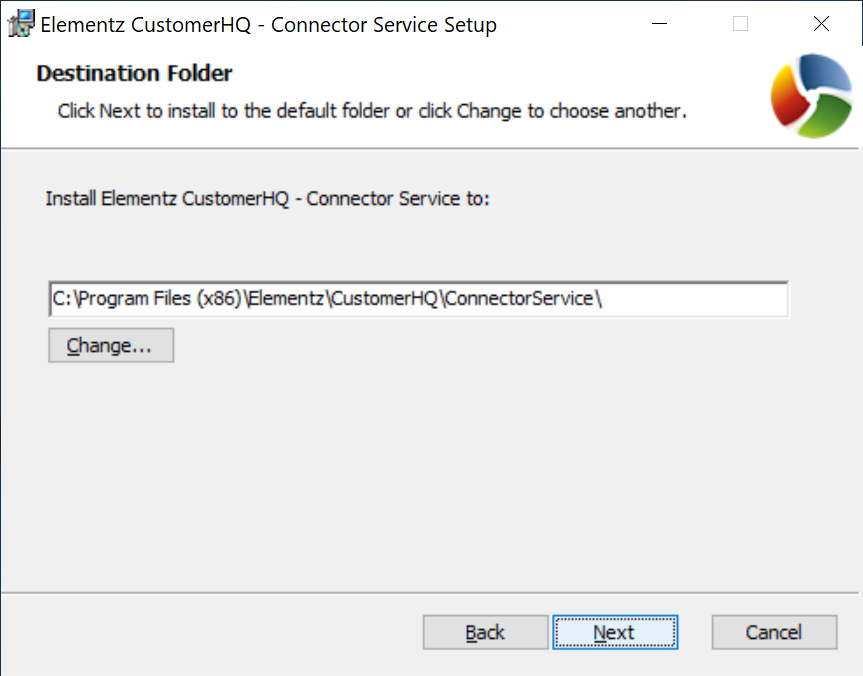
Verify the location of the installation and click Next:
Enter the SQL server instance hosting the configuration database and the Configuration database name:
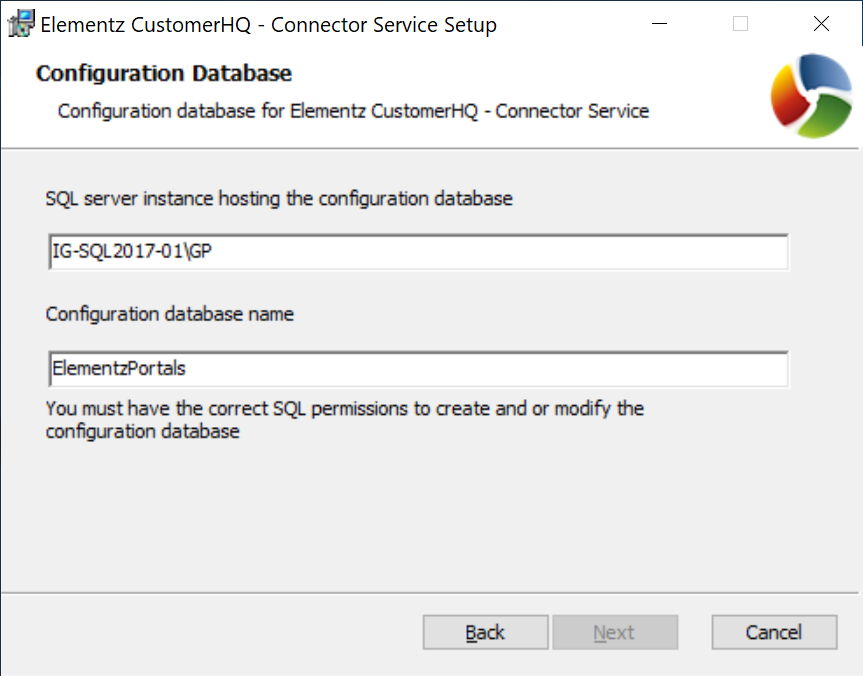
The details for the SQL server instance can either be the same as your Dynamics GP databases or a different server; the database name can be a new database (in which case it will be created for you) or they can be added to the Dynamics GP system database (typically called DYNAMICS).
If a new database is being created, a prompt will be displayed stating the new database will be created; click OK:
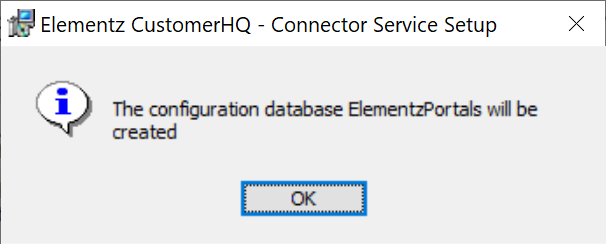
Elementz CustomerHQ - Connector Service Setup
The configuration database Elementz Portals will be created
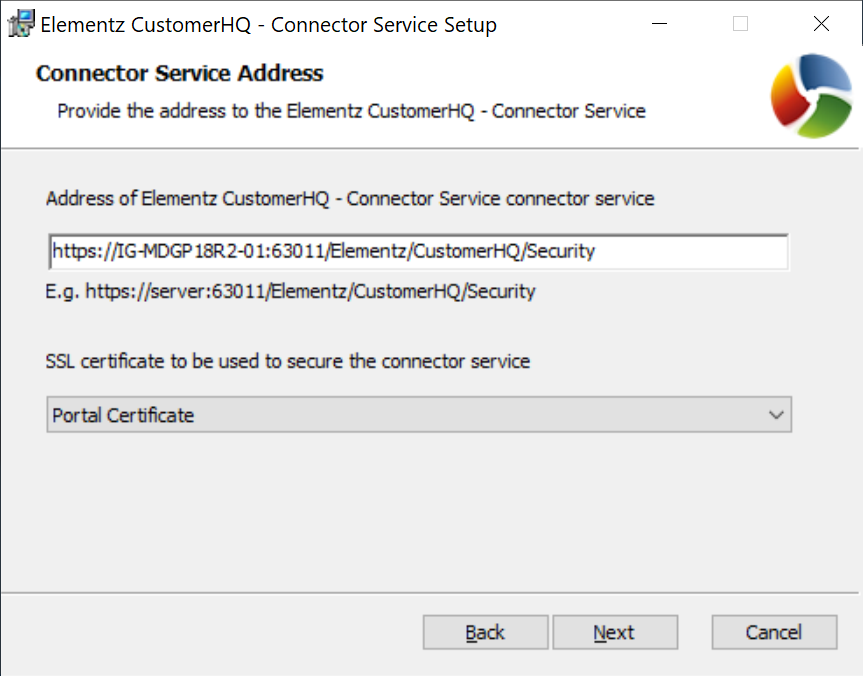
Enter the Connector Service Address; the section after the port should be as shown in the screenshot below.
Select the SSL certificate and click Next:
Enter the Service account domain, Service account user name and Service account password for the Connector Service Account and click Next:

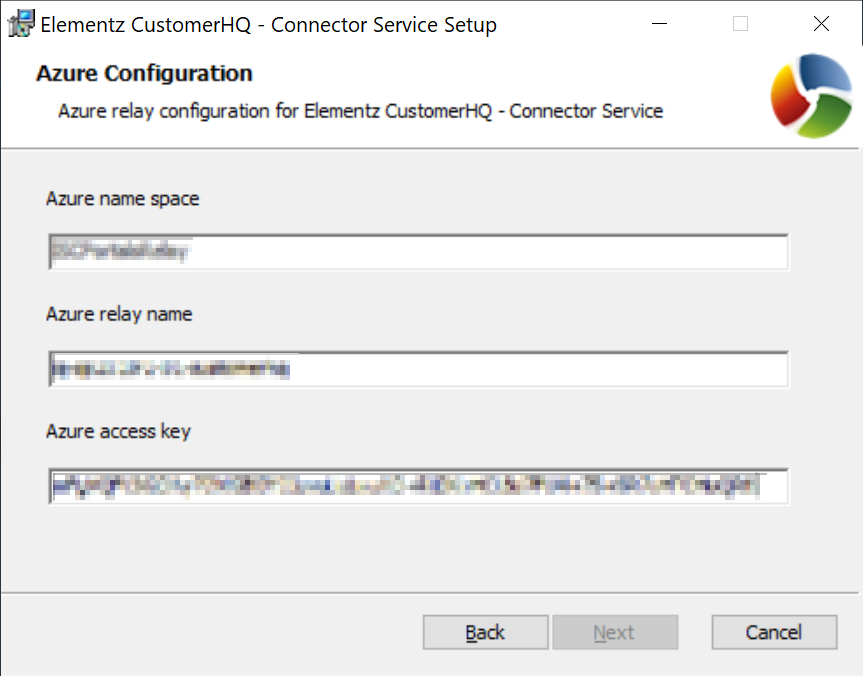
The Azure Configuration information will have been supplied to you on an email from ISC Software; transfer the Azure name space, Azure relay name and ,em>Azure access key from the email to the screen and click Next:
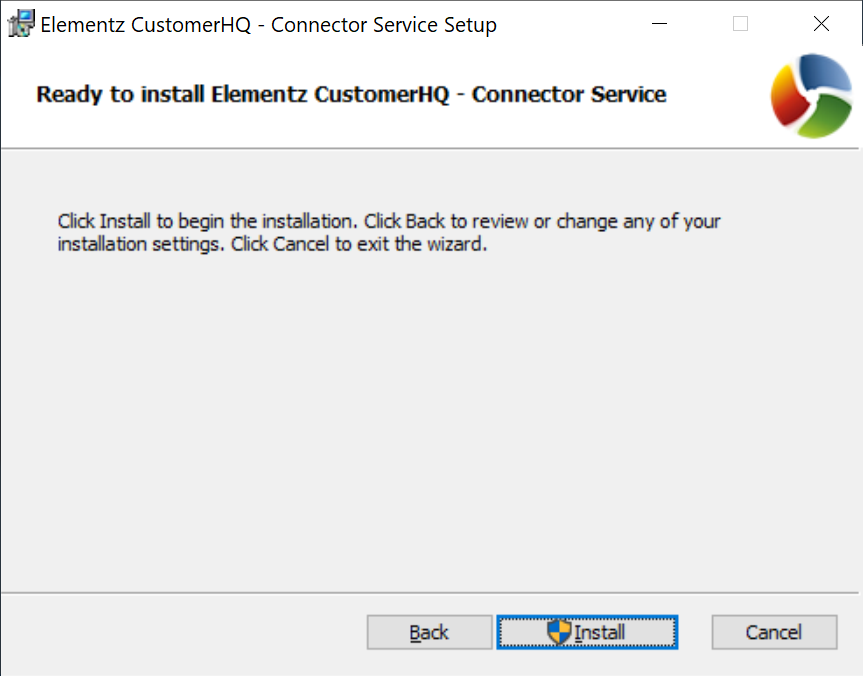
Click Install to begin the installation:
Pnce the installation is completed, click Finish:
With the Connector Service installed, there are two additional steps to cover before installing the Dynamics GP client component. I’ll cover these over the next two posts in this series.
Click to show/hide the Implementing SalesHQ Portal Series Index
What should we write about next?
If there is a topic which fits the typical ones of this site, which you would like to see me write about, please use the form, below, to submit your idea.
1 thought on “Implementing SalesHQ Portal: Install Connector Service”