 Microsoft Dynamics GP 2018 RTM has now been released and I am in the middle of a series of Hands On posts. As part of thsat series, I am about to cover the installation of the eConnect additional product on a server configured for receiving messages via the MSMQ. However, there are two prerequisites which need to be dealt with before eConnect can be installed on the server.
Usually, when doing Hands On posts, I only cover the core installs and only mentioned prerequisites such as this, referring back to old posts were necessary, but it appears I’ve only made references previously to what you have to do, without actually blogging about it. So, this series on the eConnect prerequisites, is going to be a brief diversion from the Hands On series, which will resume tomorrow.
The eConnect 18 Prerequisites series index can be found here.
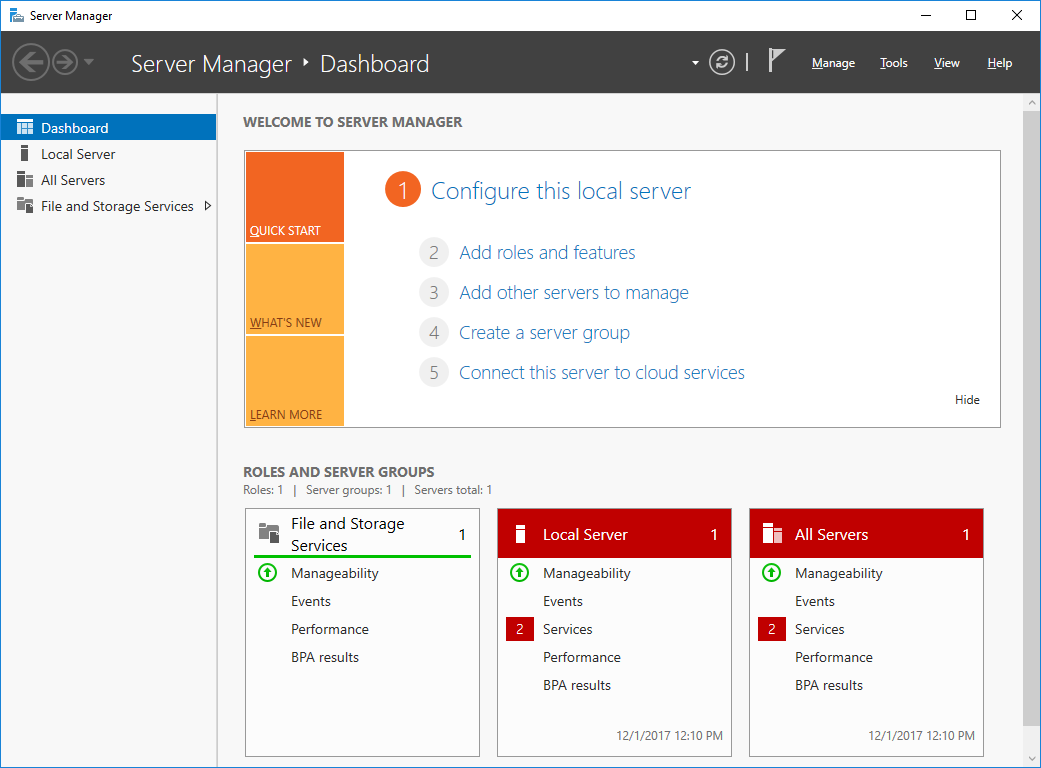
Before eConnect can be installed and configured to receive messages from the Microsoft Message Queue, the Message Queuing Triggers need to be installed. This is done via Server Manager:
Click Add roles and features link:
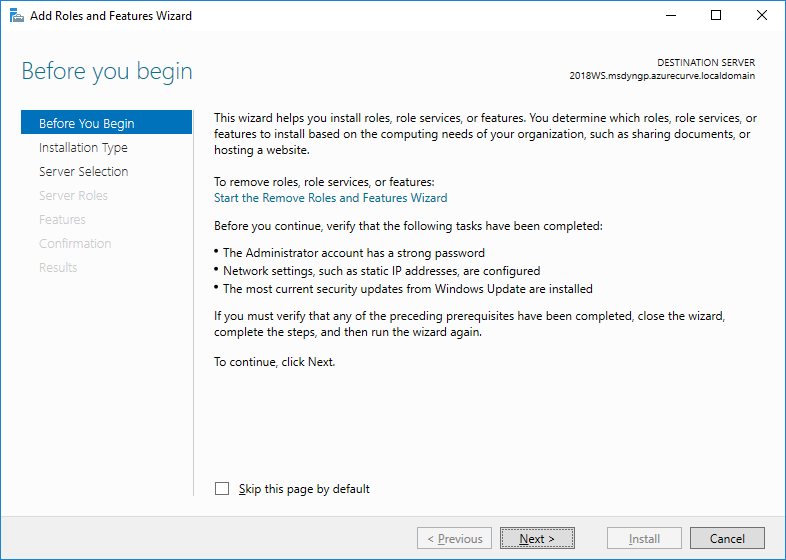
Click Next on the Before you begin step:
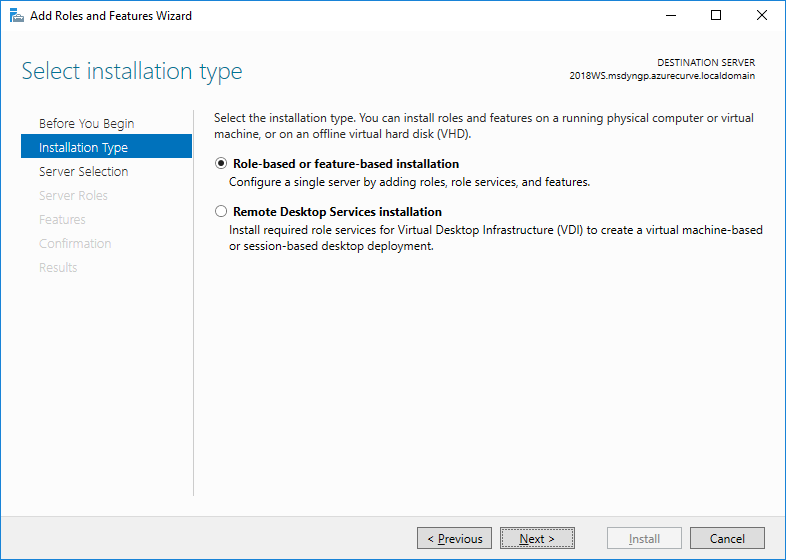
Ensure the ,em>Role-based or feature-based installation radio button is marked and then click Next:
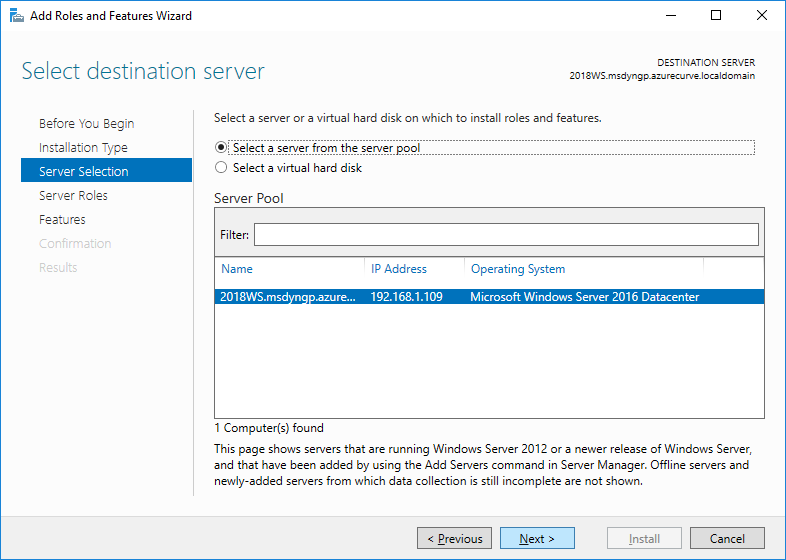
Make sure the server you want to install the feature on is selected and click Next:
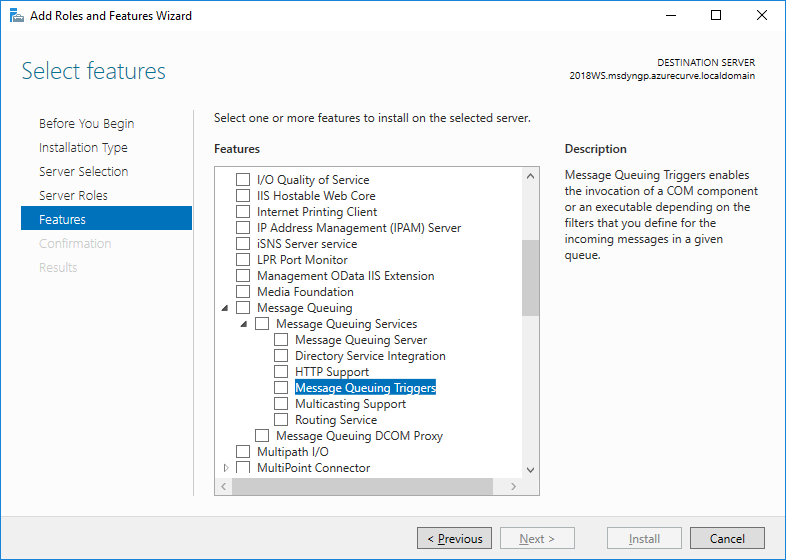
Click on Features in the navigation list and, in the detail list, scroll down and expand the following nodes:
- Message Queuing
- Message Queuing Services
Mark the Message Queuing Triggers:
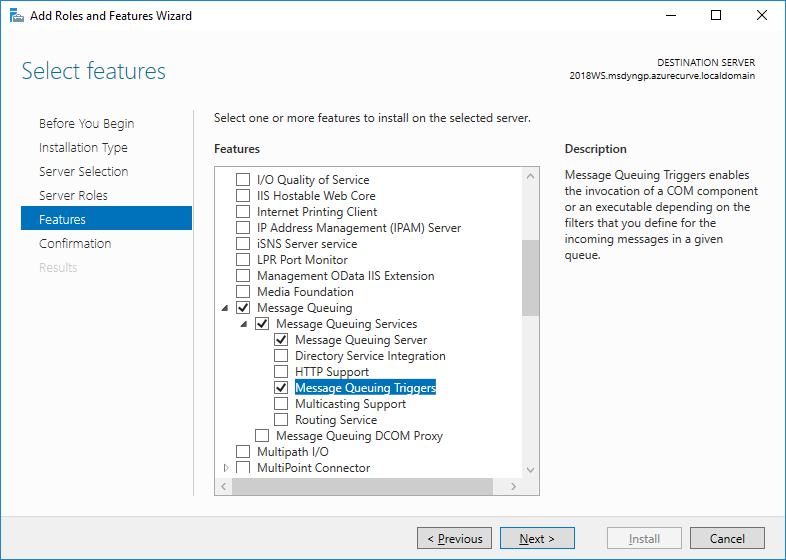
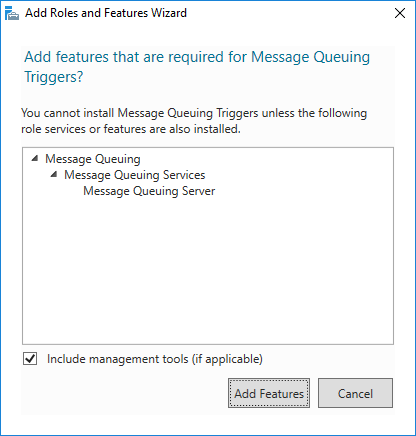
Message Queuing Triggers has a dependency on message Queuing Server; you will be prompted to confirm this feature should also be installed by clicking the Add Features button:
With the two features marked, click Next:
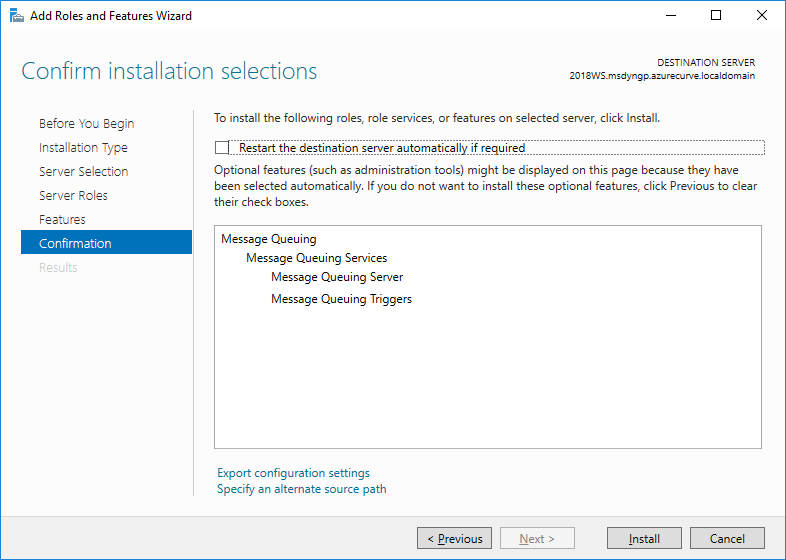
On the Confirmation step, review the selections and then click ,em>Install:
Once the installation is complete, click Close to close the Add Roles and Features Wizard:
Click to show/hide the eConnect 18 Prerequisites Series Index
| eConnect 18 Prerequisites |
|---|
| Set Service Account as Local Administrator |
| Install MSMQ Triggers |
What should we write about next?
If there is a topic which fits the typical ones of this site, which you would like to see me write about, please use the form, below, to submit your idea.


