 This post is part of the series on Implementing SmartConnect, an integration tool from eOne Solutions, which can take data from any source and integrate it into Microsoft Dynamics GP (and other systems such as Microsoft Dynamics CRM or Sales Force amongst others). It has a drag and drop interface to make creating integrations quick and easy for all users rather than just developers (as many integration tools target).
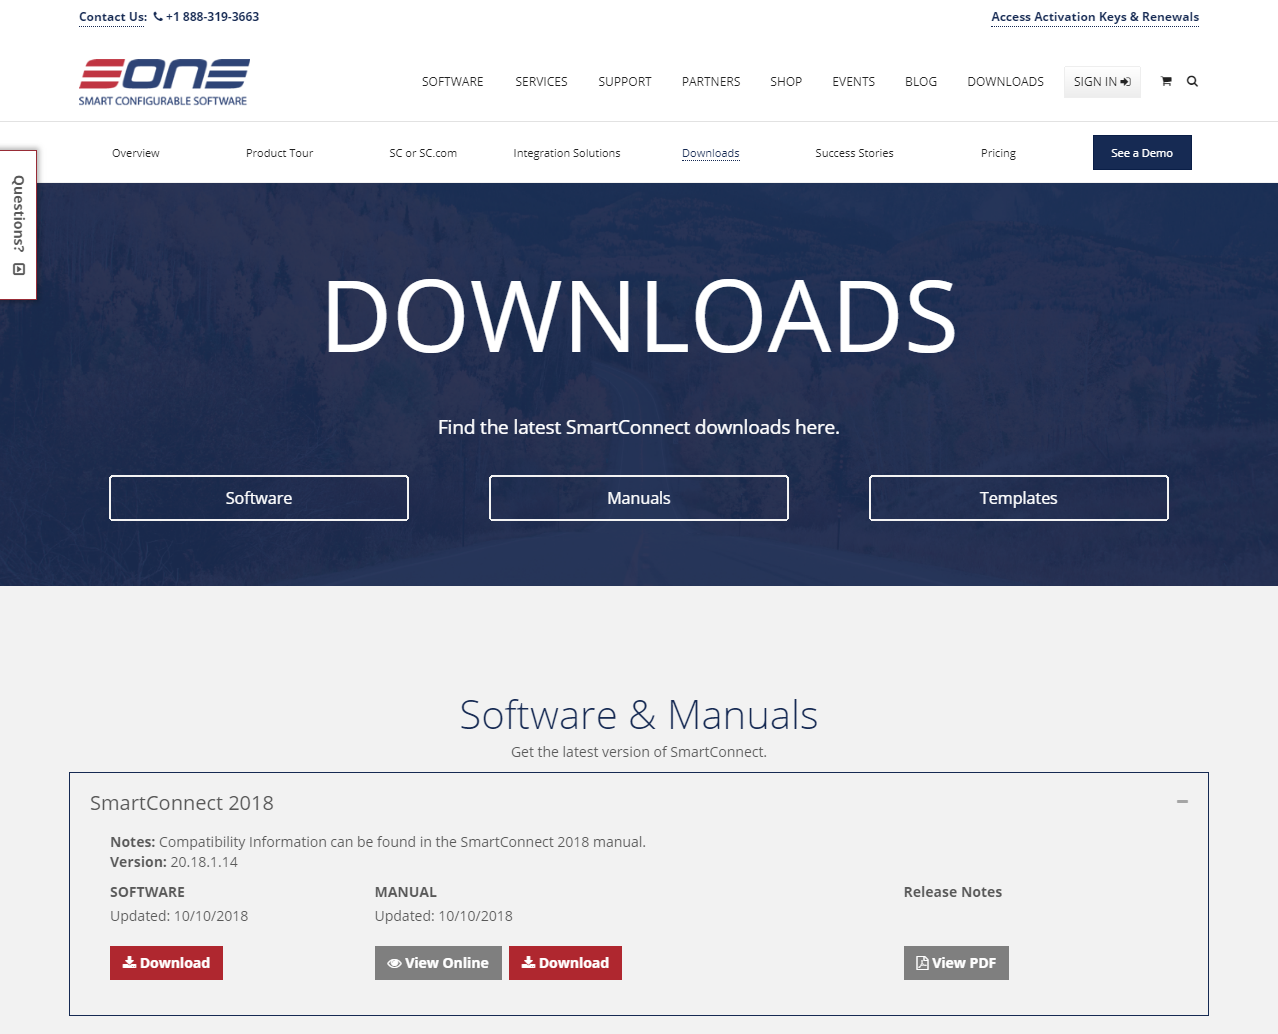
The first step in installing SmartConnect from eOne Solutions, is to download the installation media. SmartConnect can be downloaded from here. I’d always advise downloading the latest version, especially as SmartConnect is backward compatible with many versions of Microsoft Dynamics GP.
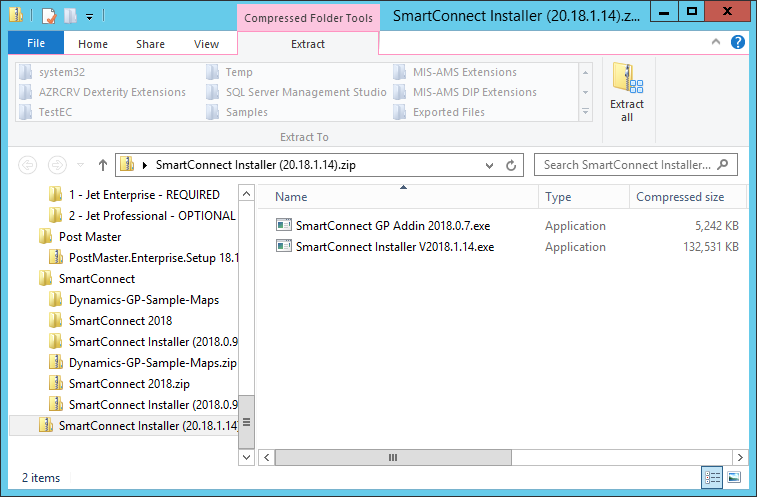
The file which you download is a zip file containing the installers for both SmartConnect itself, and also the SmartConnect GP Addin; I’ll cover the installation of the GP Addin in a later post.
Extract the SmartConnect Installer….exe and launch it:
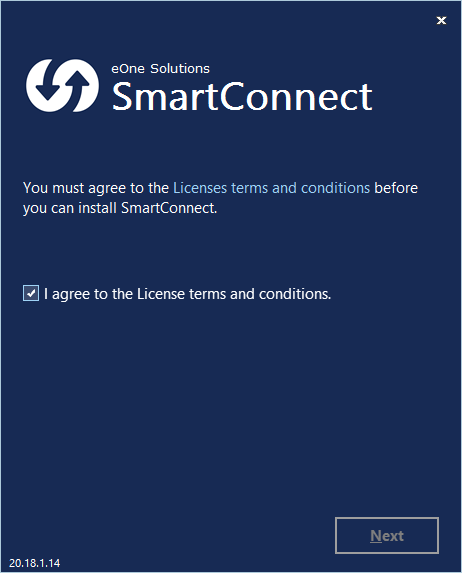
Mark the checkbox to accept the terms of the licece agreement and click Next:
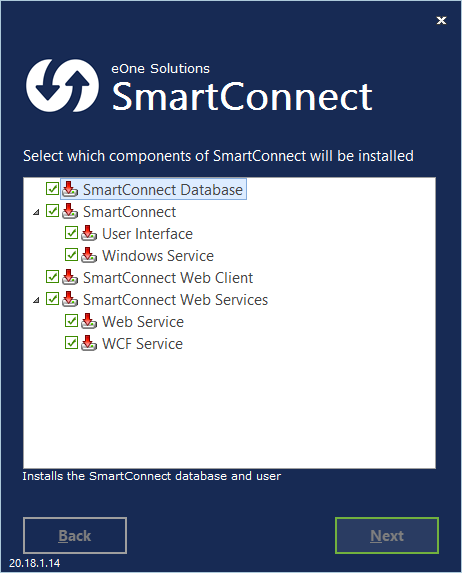
Select the components which are to be installed; I am opting for a full installation on the server and then click next:
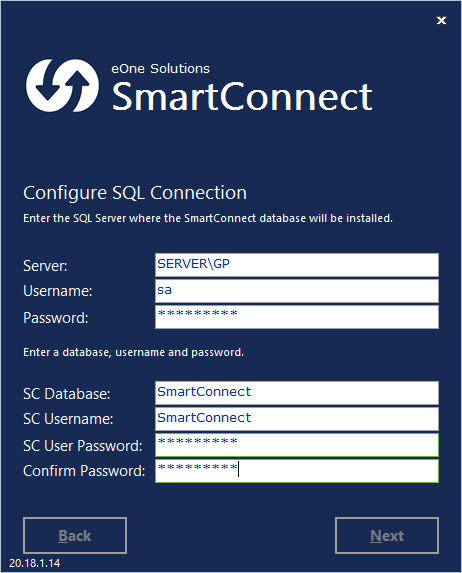
SmartConnect holds all of its data in a SQL Server database; on the Configure SQL Connection step the SQL Server Instance and logon permissions which will be used to create this database need to be specified. The account needs to be a SQL Server Login which has permissions to create a database; I’ve used the sa account, but any account with teh relevant permissions can be used.
In addition the database name and a SmartConnect user login need to be provided; this login will be used by SmartConnect for connecting to the database, so make sure you note down the password you enter as it will be needed later.
Once all of these fields have been completed, click Next:
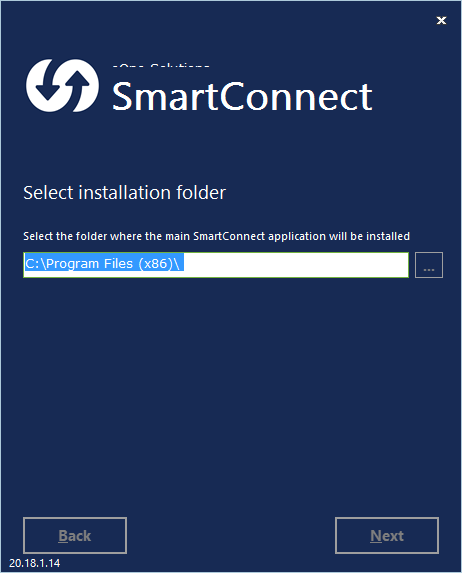
Select teh installation folder; I’ve gone with the default. Click Next:
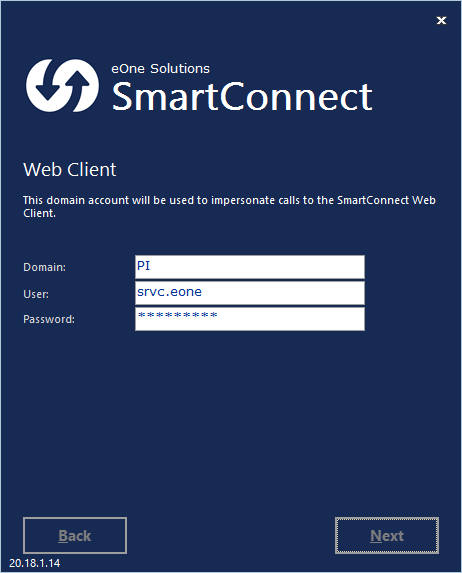
A domain account is neededfor the SmartConnect web client; enter the details and click Next:
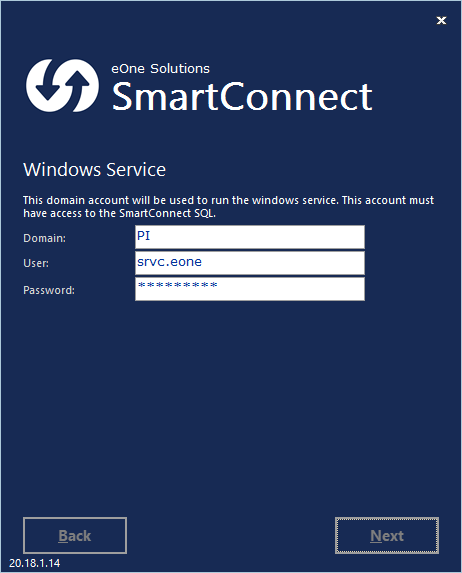
A domain account is required for the Windows Service; this service is the scheduler service which allows maps to be automated. Enter the details and click Next:
The Web Service also requires a domain account; this service allows integrations to be run via a web service. I’ve used the same details for all service accounts. Enter the details and click Next to proceed:
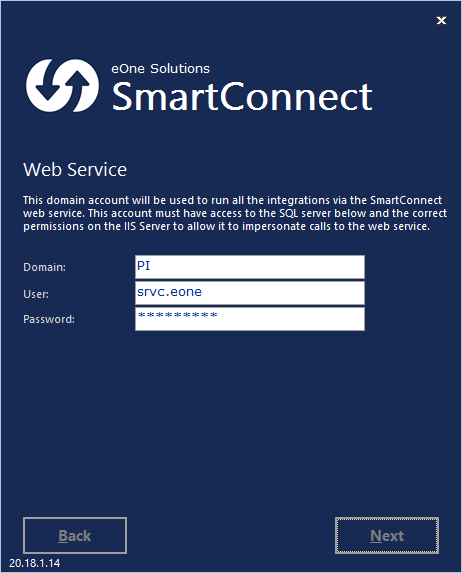
Similar details to above are requi4ed for the Wcf Web Service. Enter them and click Install:
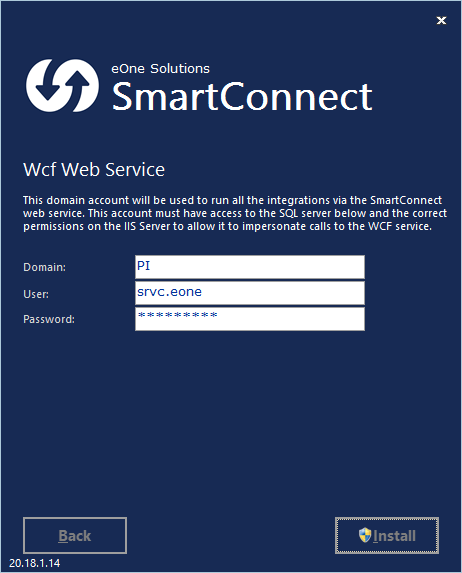
Once the installation is complete, click Finish to close the installer:

With the core of SmartConnect installed, there are a number of additional steps to go through which I’ll be covering in the next few posts.
Click to show/hide the Implementing SmartConnect Series Index
What should we write about next?
If there is a topic which fits the typical ones of this site, which you would like to see me write about, please use the form, below, to submit your idea.


