 When I started developing plugins for ClassicPress I decided that I needed to be using source control. As ClassicPress is intending to use GitHub for their plugin directory, it made sense for me to use it as well. This post is part of a series on ClassicPress Development with TortoiseGit which is a sub-series of the ClassicPress Development with GitHub series.
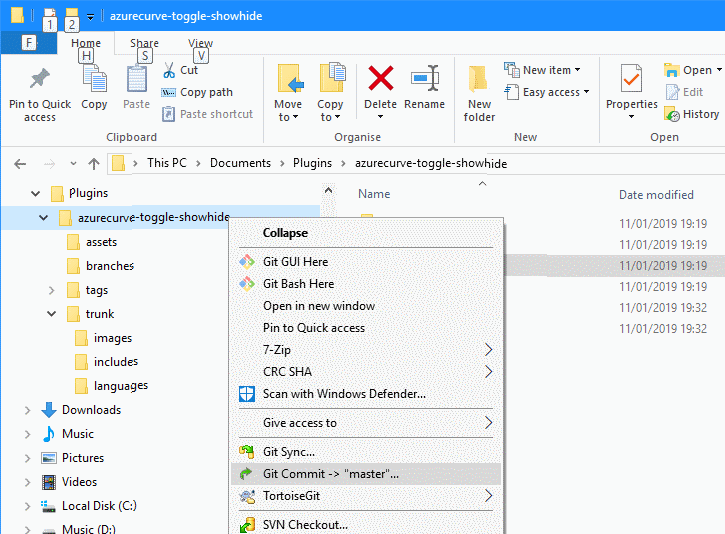
Once the repository has been cloned and changes made, you need to submit the changes back to the repository to keep control of changes. This is referred to as a “commit”. To commit your change, right-click the folder (or file) to commit and select Git Commit -> “master” on the context menu:
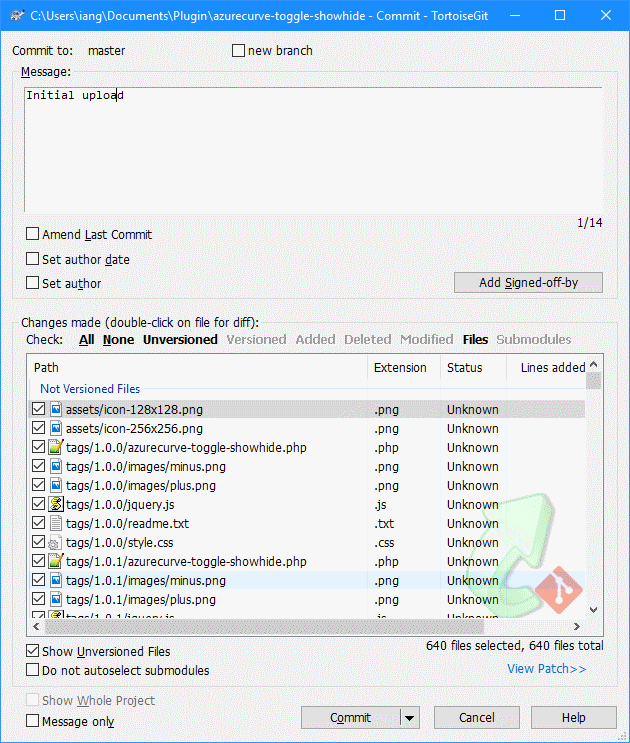
Enter a message for the commit (this will be displayed in the GitHub repository) and make sure all checkboxes next to files to be committed are marked; there are options above the list of files allowing you to select All and other options to mark the boxes in bulk.
Click Commit to start the commit process:
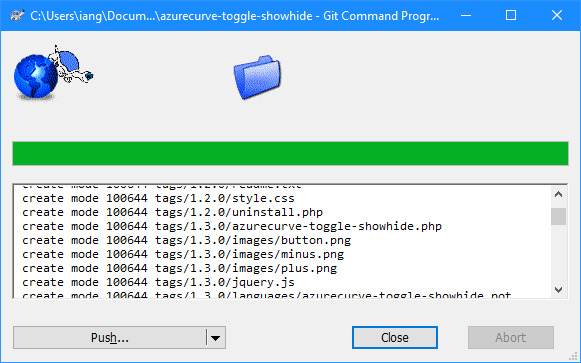
A dialog showing the commit progress will be displayed; when is shows the commit is complete, click Close:
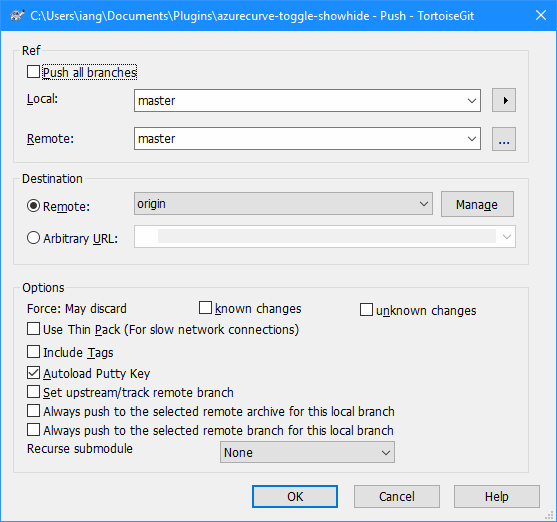
On the Push dialog which is shown, click OK to push the files to GitHub:
If this is the first time doing a commit, enter your GitHub login credentials and click Login:
Once the push is complete, click Close:
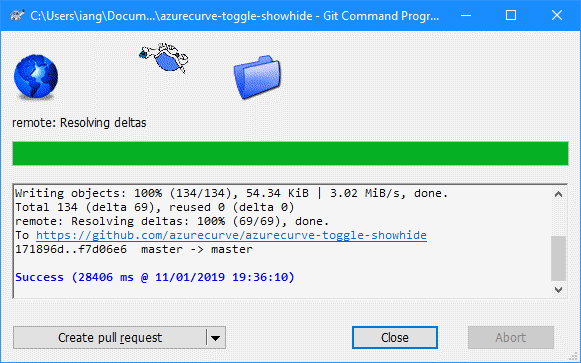
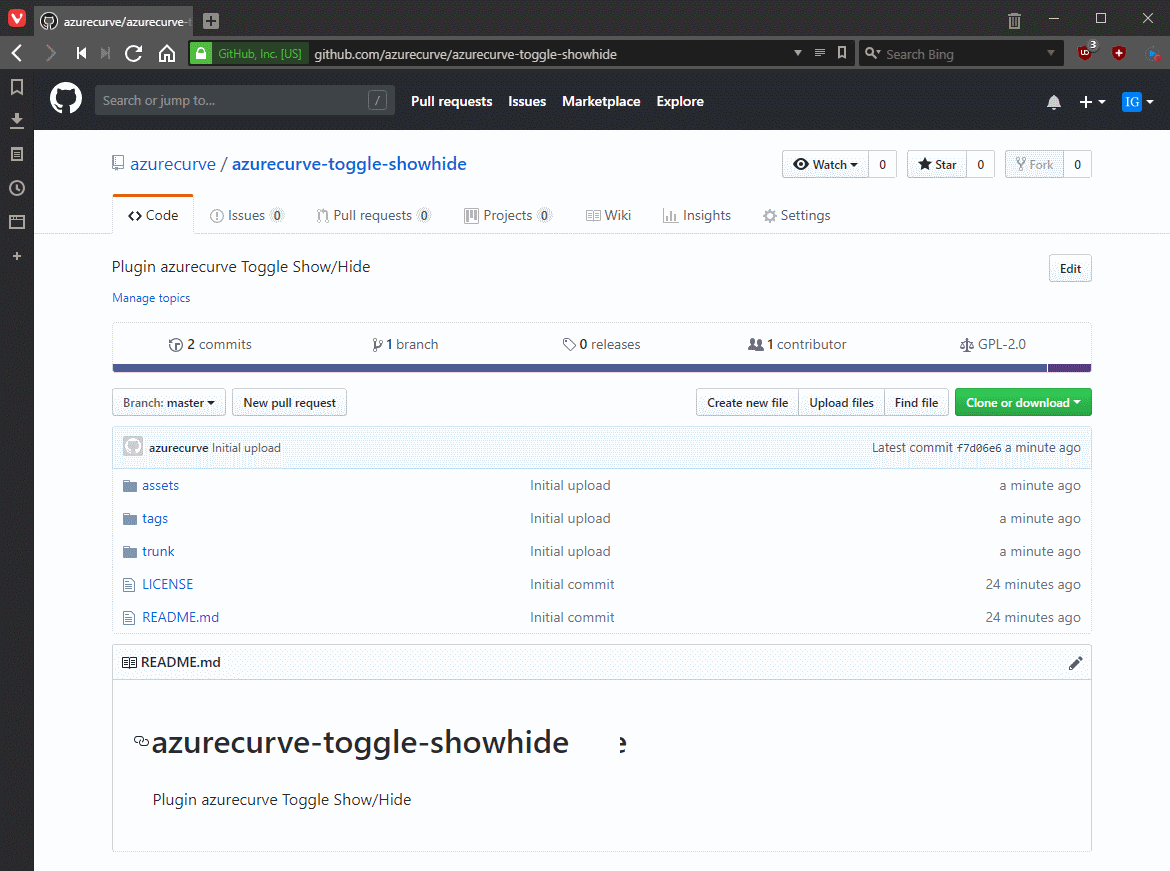
Your changes are now committed and in the repository:
ClassicPress Development with GitHub
| ClassicPress Development with TortoiseGit |
|---|
| What is TortoiseGit? |
| Install Git for Windows |
| Install TortoiseGit for Windows |
| First run |
| Update |
| Clone Repository |
| Commit |
| Revert Last Commit |
What should we write about next?
If there is a topic which fits the typical ones of this site, which you would like to see me write about, please use the form, below, to submit your idea.