 In this series of posts I’m going to take a look at the Config AD product from Fastpath which adds single sign-on to the Dynamics GP desktop client; you can find my series index here.
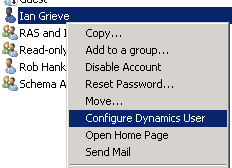
With Config AD installed on the domain controller, we now need to configure it to connect to the required Microsoft Dynamics GP installation. To do this open the Active Directory Users and Groups, right click on a user and then click on Configure Dynamics User:
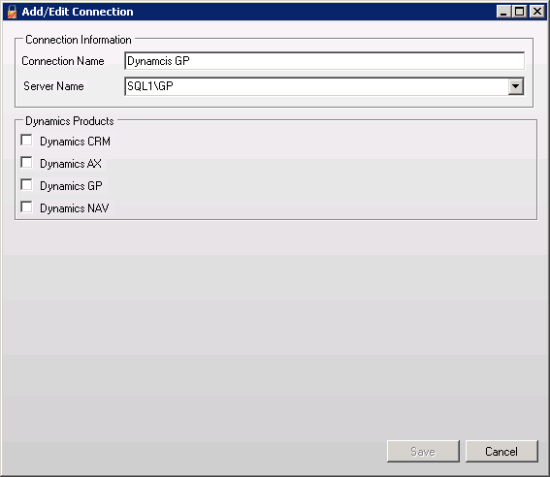
This will launch the Add/Edit Connection window. Enter the Connection Name and Server Name (this is the SQL Server Name so should include the instance name if there is one; in my case I have an instance of SQL called GP on the SQL1 server):
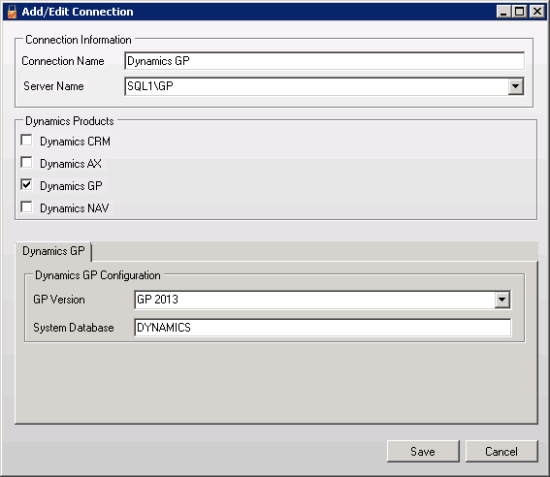
Mark this Dynamics GP checkbox under Dynamics CRM which will cause a new section to be made visible at the bottom of the window. Choose your GP Version and, as Config AD is compatible with the GP 2013 Named System Database functionality, enter your System Database and click Save:
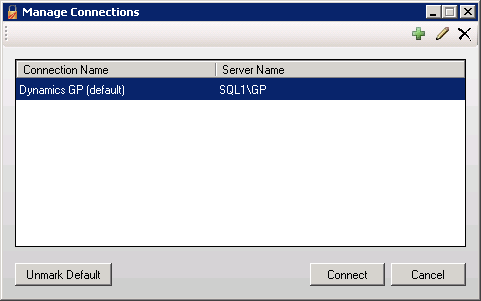
This will launch the Manage Connections window. Choose your connection and click Connect:
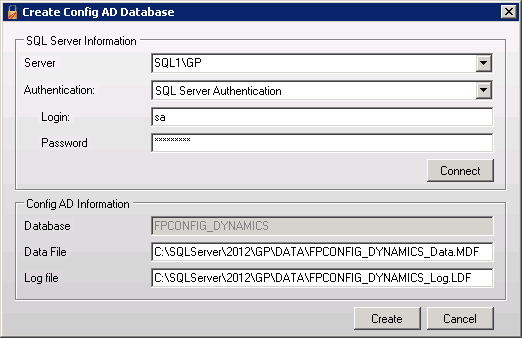
As this is the first run of Config AD, the next step is to create the SQL database which will hold the Config AD settings. Choose an Authentication method and enter the username and password if you have chosen SQL Server Authentication:
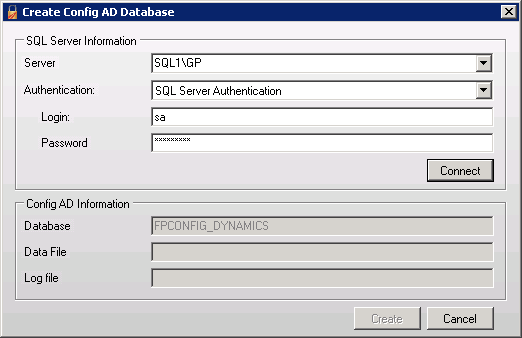
Click Connect and, if the entered details are valid, choose a location for the data and log files and click Create to create the database:
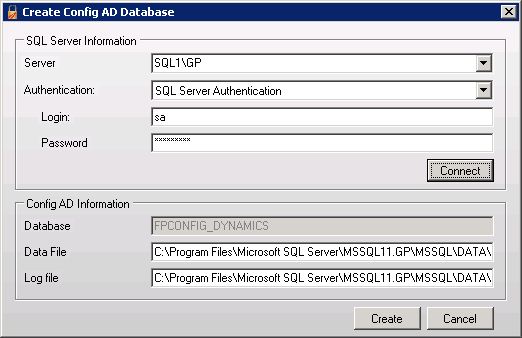
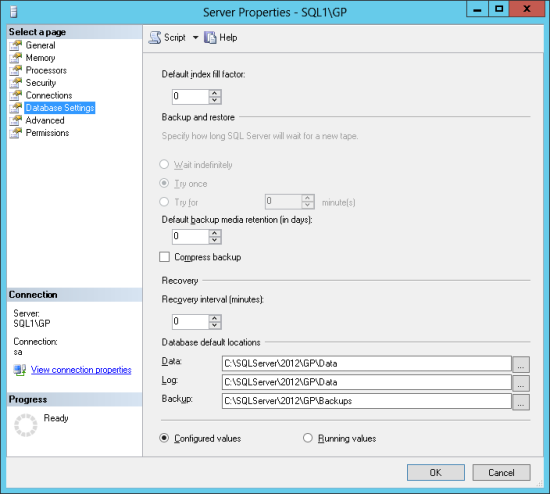
The one thing I noticed is that the default locations were the installation folder rather than the folders SQL was configured to use for the data and log files as you can see from the Server Properties:
Before I clicked create, I updated the settings in Config AD to the ones where the SQL databases are usually created on my server:
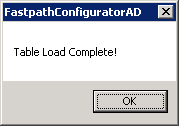
Once the database has been created and all required objects created a confirmation will be displayed:
After clicking okay to the previous message a new one about the Registration Key being invalid will be displayed:
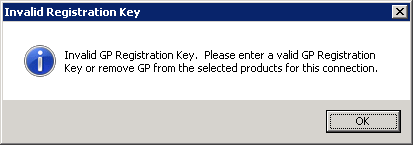 Invalid Registration Key: Invalid GP Registration Key. Please enter a valid GP Registration Key or remove GP from the selected products for this connection’ title=’Invalid Registration Key: Invalid GP Registration Key. Please enter a valid GP Registration Key or remove GP from the selected products for this connection
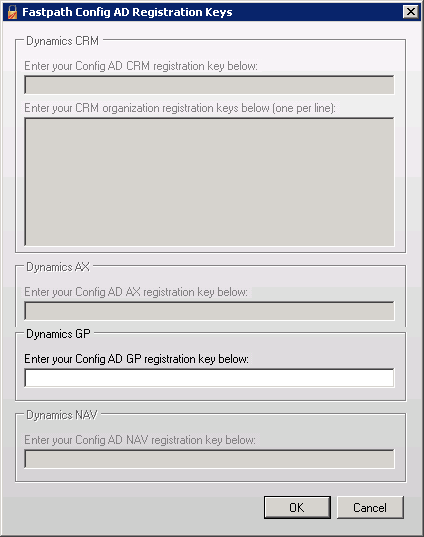
After clickig OK, the Fastpath Config AD Registration Keys window will be displayed. Enter the Dynamics GP registration key from Fastpath into the enabled field and click OK:
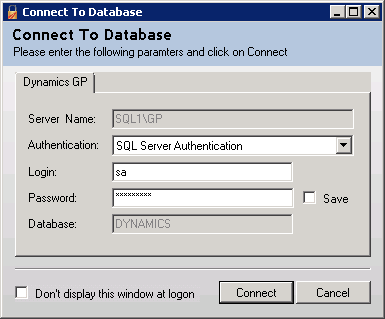
The final step before Config AD can be used to configure security is to enter the login details on the Connect To Database window:
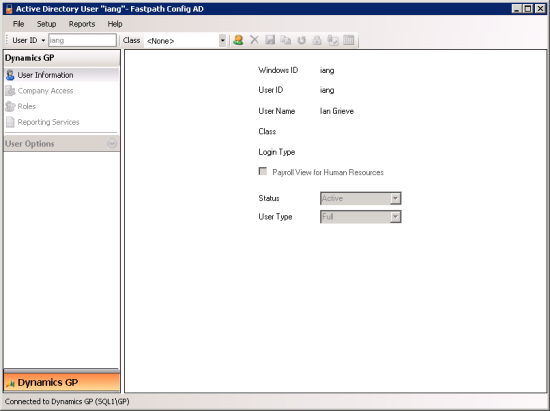
After logging in you’ll see the settings for the user you initially right-clicked on:
Click to show/hide the Implementing Fastpath's Config AD Series Index
What should we write about next?
If there is a topic which fits the typical ones of this site, which you would like to see me write about, please use the form, below, to submit your idea.




1 thought on “Implementing Fastpath’s Config AD: Configuration”