This post is part of the Hands On with Microsoft Dynamics GP October 2019 Release series where I am going hands on with the new version of Microsoft Dynamics GP. As mentioned in the last post, the client installation these days includes the server installation. With one client now installed, the next step is to deploy the system database.
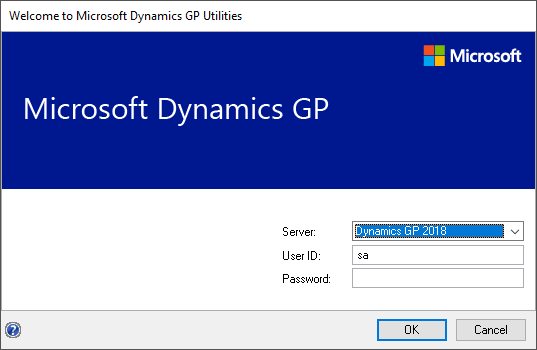
Do this by launching GP Utilities from the Windows Start menu and log in using the SQL Server sa account:
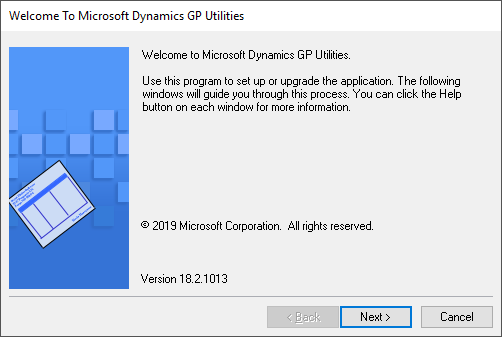
On thw welcome screen, click Next:
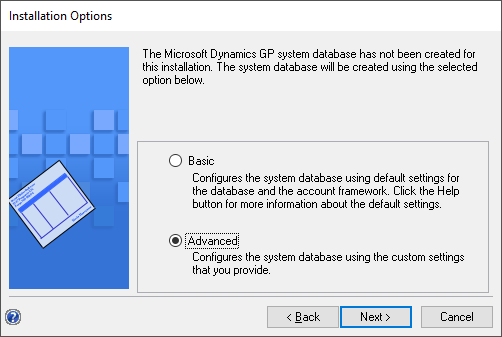
Select the Advanced option on the Installation Options tab and click Next:
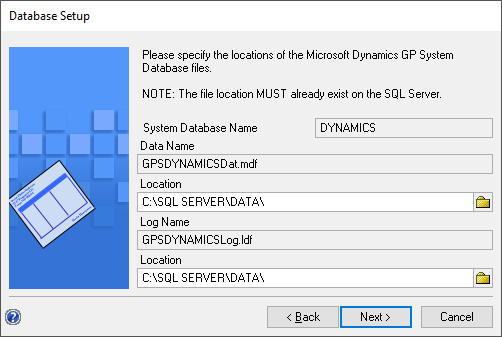
Check the locations of the SQL server database files and make any necessary changes; click Next:
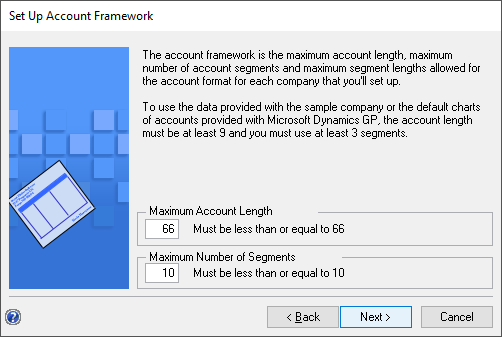
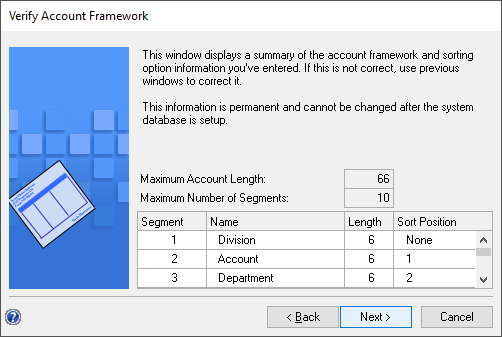
The account framework supports a Maximum Account Length of 66 and a Maximum Number of Segments of 10; as I am creating a new demo environment, these are the values I have set. Click Next to proceed:
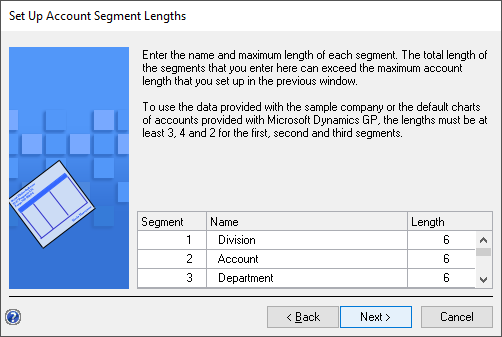
Name your segments and set the length and click Next:
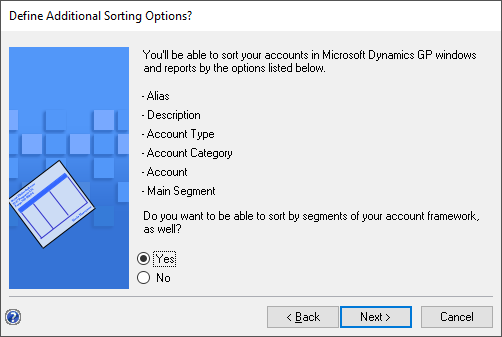
Decide if you want to sort by other segments. Click Next:
If you opted to sort by additional segments, move the required segments to the Selected Sorting Options list and click Next:
Verify your account framework setup and click Next:
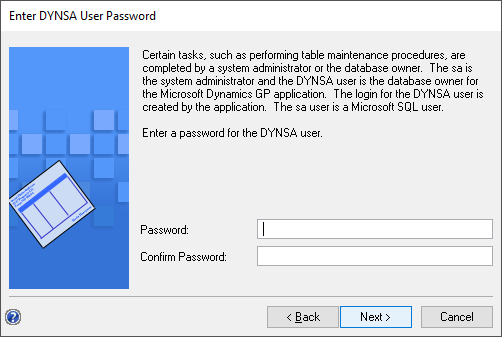
For a new SQL Server, enter a password for the DYNSA user; this is the user you should use post installation for maintenance and security setup. Click Next:
If you are going to be using the web client, mark the Using web client checkbox and then enter a username and password. Click Next to continue:

Select your Authentication Type; as I am using a standard on-premise servers with Active Directory, I have selected Windows Account. Click Next:
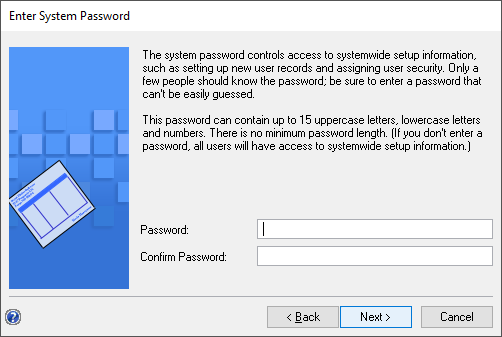
If you want a system password, enter the required password (a new feature in Dynamics GP 2018 RTM remembers the system password during a session)) and click Next:
Review your selections and click Finish to begin deploying the system database:
Once the deployment is finished, you will be prompted to select which Business Intelligence features to deploy. I will revisit this later, so have left both boxes unmarked and just clicked Next:
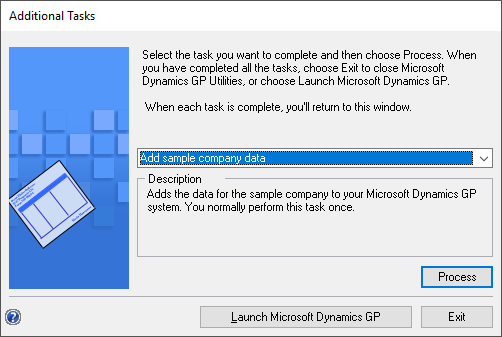
When you see the Additional Tasks step, choose a task to undertake or click Exit: