Building The Raspberry Pi: Raspberry Pi Build

Raspberry PiThis post is part of the series on building my new Raspberry Pi; this series is a sub-series of the Adventures with a Raspberry Pi.

The build of the Raspberry PI kit is easily the easiest computer build I’ve done.

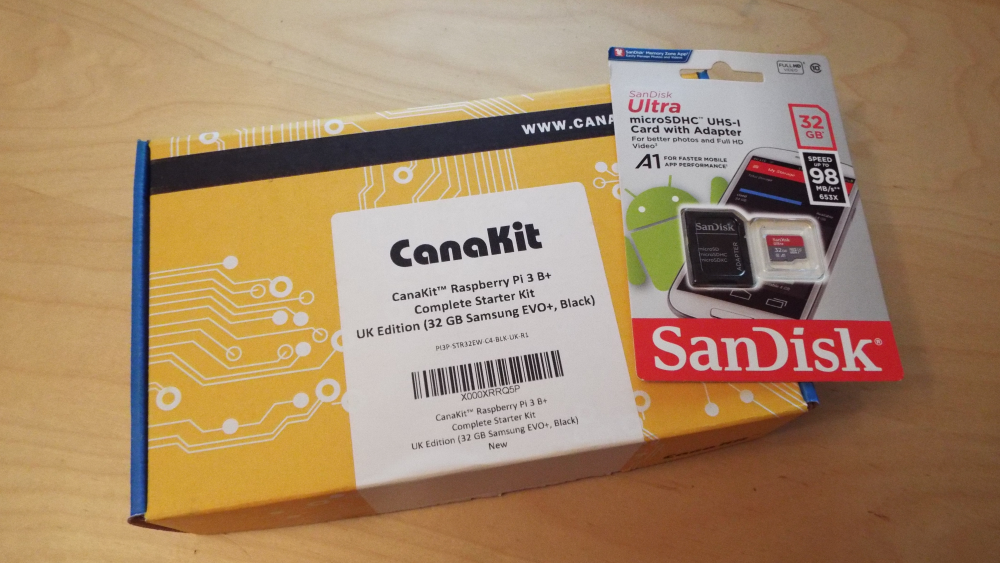
The starter kit from Canakit is contained within a small box (the separate SD Card in the photo was bought in addition to the one which arrived in the box):

Canakit Raspberry Pi box

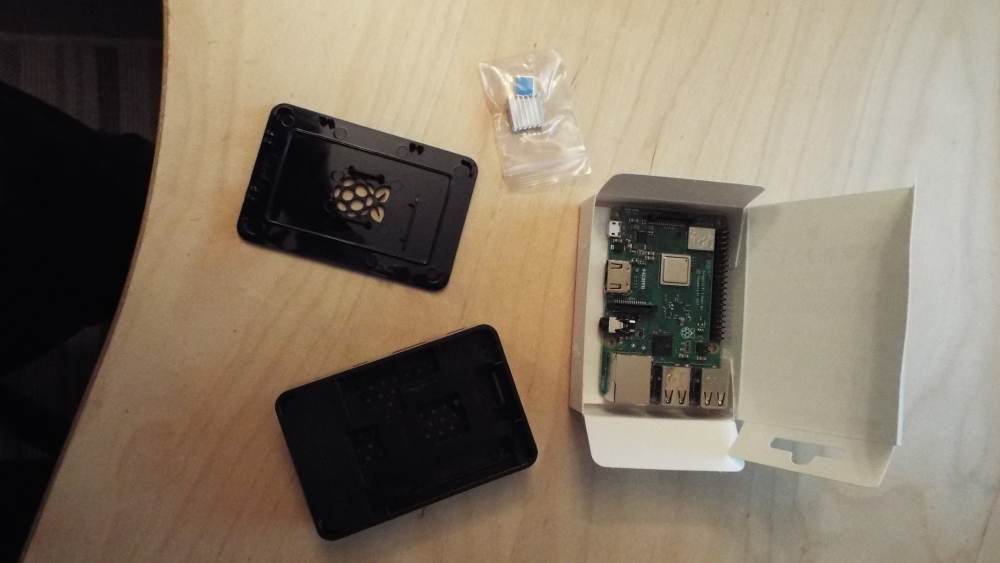
Within the box are all of the components including power supply and HDMI cable:

Content of Canakit Raspberry Pi starter kit

The case is in the white box at the top of the picutre and the Raspberry Pi motherboard in the red box at the bottom left:

Raspberry Pi case and motherboard

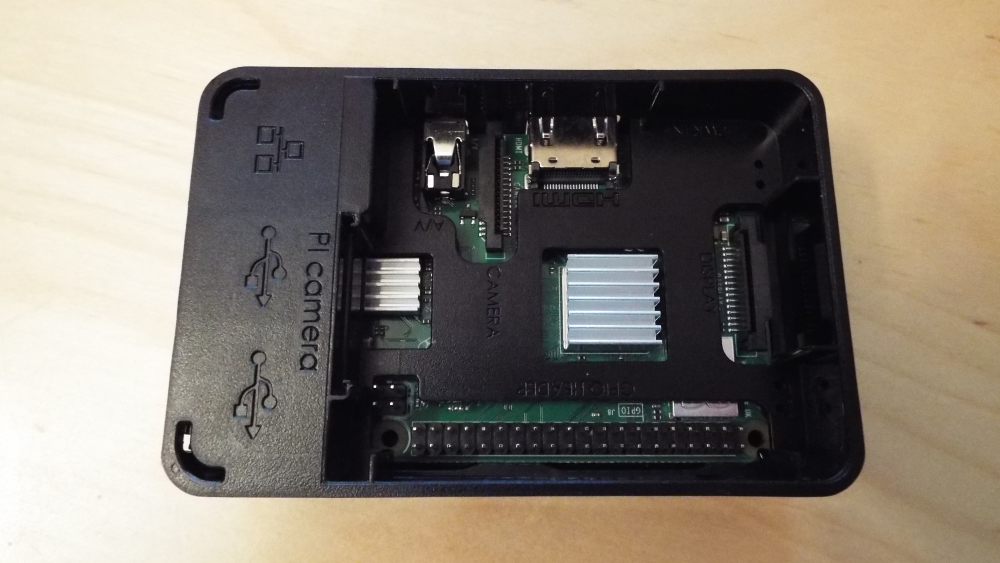
There are no screws required; the motherboard seats quite firmly into the bottom of the case:

Motherboard seated in the base of the case

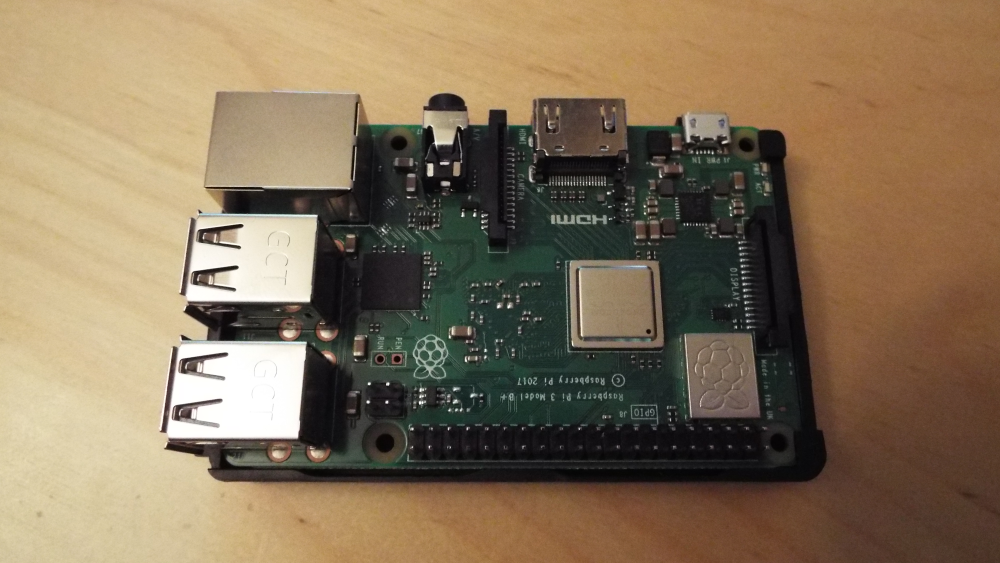
The heatsinks have backing paper on them which you need to remove and then seat the heatsinks on the motherboard:

Heatsinks on the motherboard

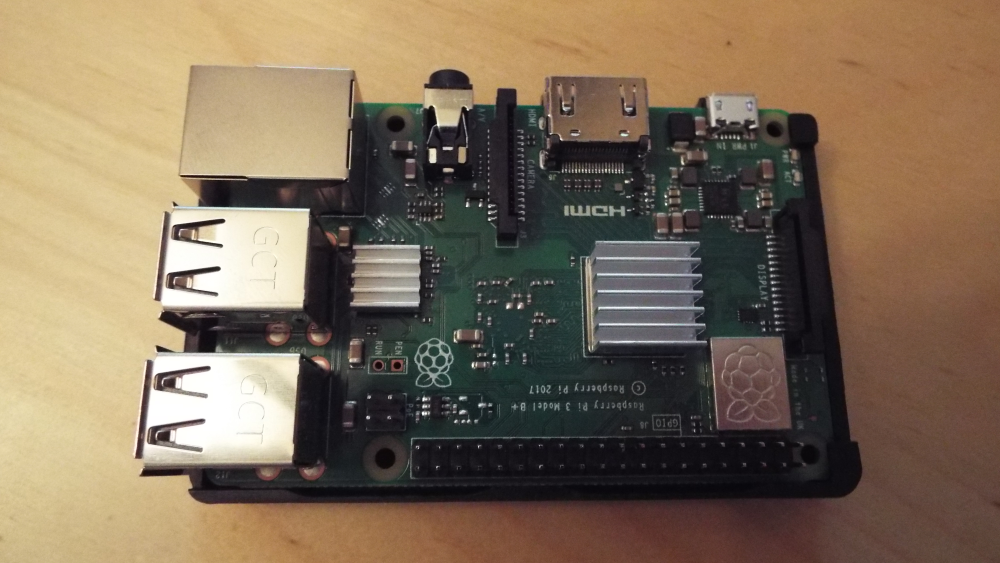
The middle section of the case then slots on top covering the motherboards, but leaving the heatsinks exposed:

Middle section of case in place

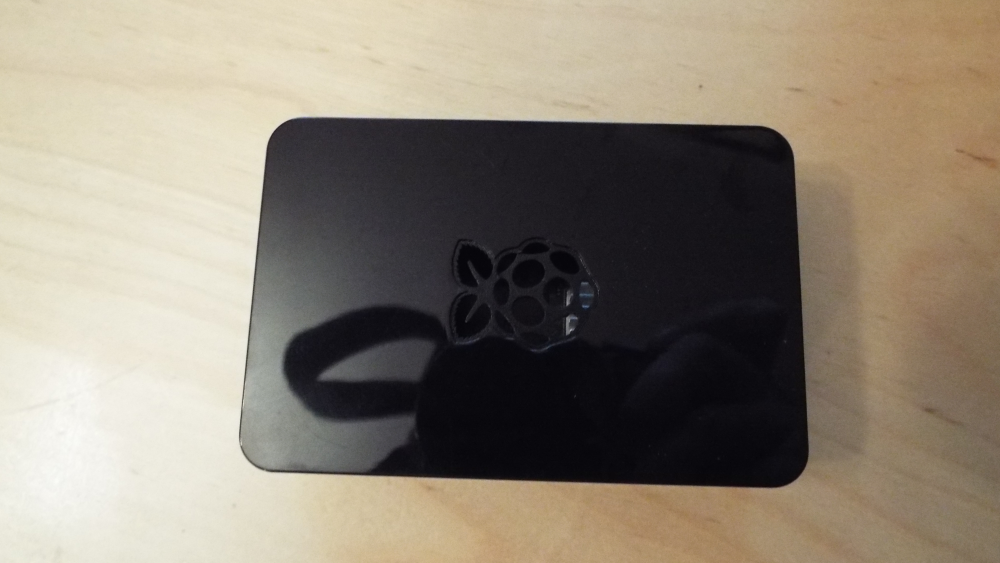
The top of the case can now be fitted into place:

Case fully assembled

You can now insert the SD card into the Raspberry Pi and plug in the keyboard, mouse and monitor. Once done we can move onto installing the OS, which I will do in the next post.

Adventures With A Raspberry Pi

Adventures With A Raspberry Pi
Building The Raspberry Pi: CanaKit Raspberry Pi 3 B+ Complete Starter Kit
Building The Raspberry Pi: Raspberry Pi Build
Building The Raspberry Pi: Install Operating System
Building The Raspberry Pi: First Run
Building The Raspberry Pi: System Configuration Tool
Building The Raspberry Pi: Enable SSH For Remote Access
Building The Raspberry Pi: Securing the Raspberry Pi
Building The Raspberry Pi: Conclusion
Installing Pi-hole On A Raspberry Pi: What is Pi-hole?
Installing Pi-hole On A Raspberry Pi: Install Pi-hole
Installing Pi-hole On A Raspberry Pi: Change Pi-hole Admin Password
Installing Pi-hole On A Raspberry Pi: Configure Network to use Pi-hole
Using Pi-hole On A Raspberry Pi: Blocked Adverts
Using Pi-hole On A Raspberry Pi: Admin Interface
Using Pi-hole On A Raspberry Pi: Disabling Pi-hole
Using Pi-hole On A Raspberry Pi: Whitelisting a Site
Using Pi-hole On A Raspberry Pi: Update Blocklists
Using Pi-hole On A Raspberry Pi: Maintain Blocklists
Using Pi-hole On A Raspberry Pi: Change DNS Servers
Using Pi-hole On A Raspberry Pi: Connecting With SSH
Using Pi-hole On A Raspberry Pi: Updating the Pi-hole
Using Pi-hole On A Raspberry Pi: Conclusion
What Else Can I Use It For?
Prepare New SD Card For Raspberry Pi OS: Download SD Card Formatter
Prepare New SD Card For Raspberry Pi OS: Install SD Card Formatter
Prepare New SD Card For Raspberry Pi OS: Format SD Card
Prepare New SD Card For Raspberry Pi OS: Download NOOBS
Prepare New SD Card For Raspberry Pi OS: Copy Files To The SD Card
Prepare New SD Card For Raspberry Pi OS: Conclusion
Installing Pi-hole On A Raspberry Pi: Changing the IP Address
Raspberry PI Update Fails
Check Version of OS on Raspberry Pi
How to Update the OS on a Raspberry Pi

What should we write about next?

If there is a topic which fits the typical ones of this site, which you would like to see me write about, please use the form, below, to submit your idea.

Your Name

Your Email

Suggested Topic

Suggestion Details

1 thought on “Building The Raspberry Pi: Raspberry Pi Build

Leave a Reply

Your email address will not be published. Required fields are marked *