 This article is part of the Working with Power Automate Solutions series and of the larger Working with Power Automate series I am writing on my experiences working with the Power Automate, which is part of the Power Platform from Microsoft. I also have a related series of articles on Power Automate with Microsoft Dynamics 365 BC.
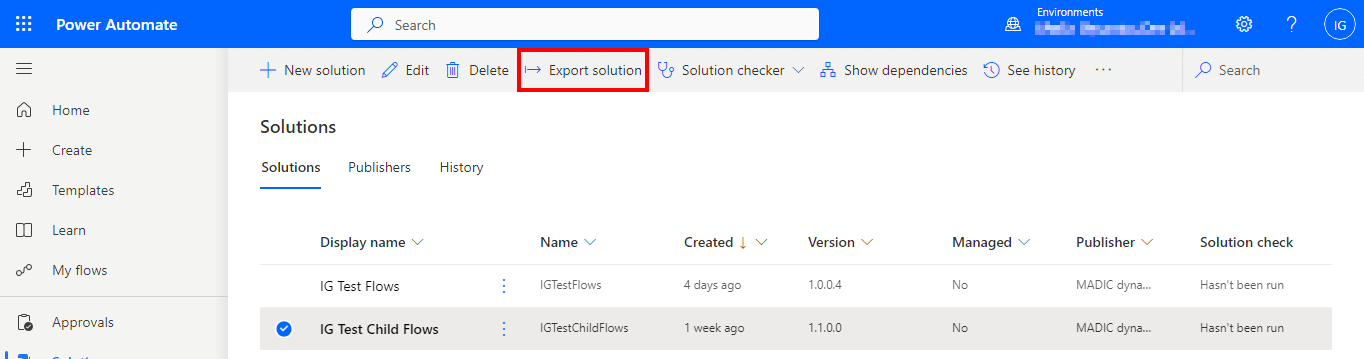
If you are developing a Power Automate solution and are ready to deploy it to a QA, UAT or production environment, you can do this by exporting the solution as an managed solution. Do this be navigating to the Solutions page, selecting the solution you want to export and click the Export solution button near the top of the page (ringed in red):
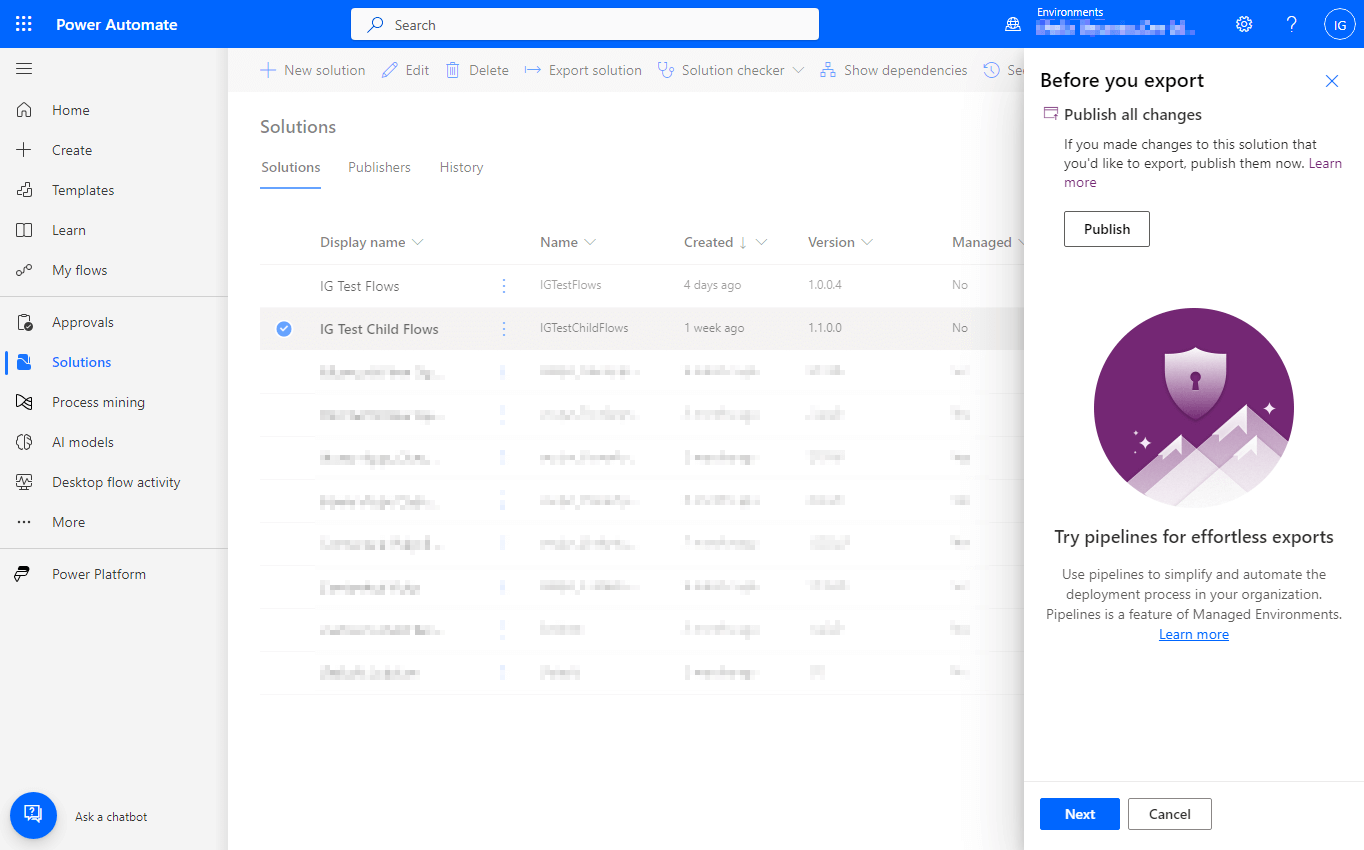
If you haven’t published your solution, you can do this on the Before you export pane which opened at the side of the screen; click the Publish button:
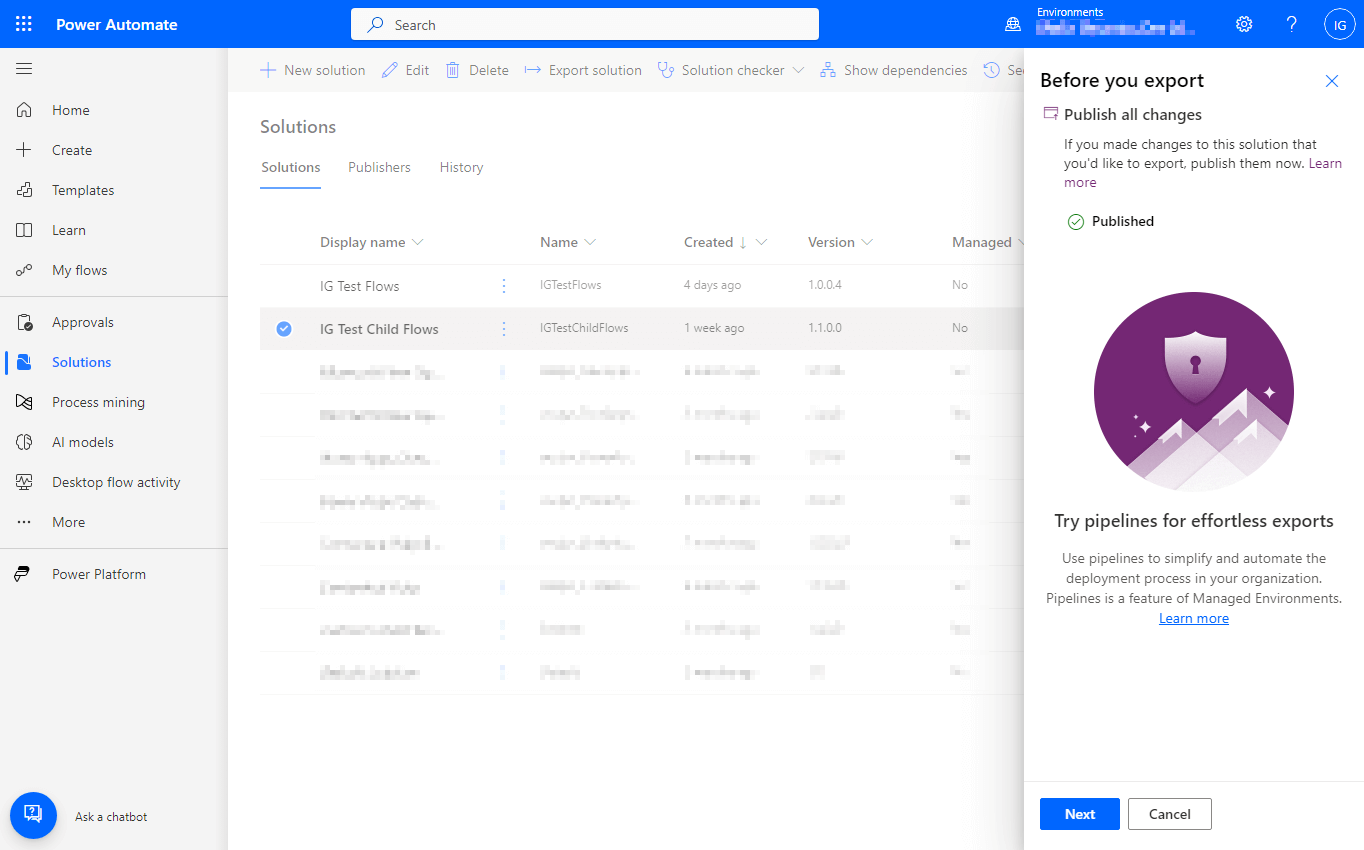
Publication may take a few minutes, but once it is finished, a confirmation will be displayed and you can click Next to proceed:
Change the version number if required; as I am exporting to add to source control, I have overridden the default increment of the pre-release segment to change the minor number (in this example I have made a small change to an existing flow) and ensured the last two segments are both zero, which fits with my version numbering pattern.
As I want a solution for a QA system, this means I need a managed solution; under the Export as title, leave the Managed radio button marked.
Click Next to begin the export:

The export solution pane will disappear, but a new grey bar at the top will be displayed, confirming that the export is being prepared:

Once the solution is ready, the grey bar will be replaced by one confirming export has been successful:

You will then see the standard download prompt in your browser of choice; click Save (or equivalent):
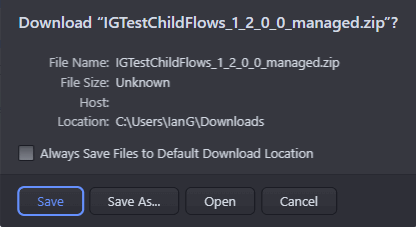
You will now have a zip file containing the managed solution for you to import into non-development environment, such as a QA or UAT or production environment. The exported managed solution has the word managed appended to the end of the filename so you can easily differentiate a managed solution from an unmanaged one.
A managed solution should never be imported into a development system.
Working with Power Automate Solutions
Working with Power Automate
What should we write about next?
If there is a topic which fits the typical ones of this site, which you would like to see me write about, please use the form, below, to submit your idea.