 This article is part of the series on How To Install Microsoft SQL Server 2022; I do not claim to be an expert on SQL Server and this series is installing SQL Server in a development/testing/demo environment. If you’re installing SQL into a production environment there will be additional work required to harden the SQL Server and avoid security issues.
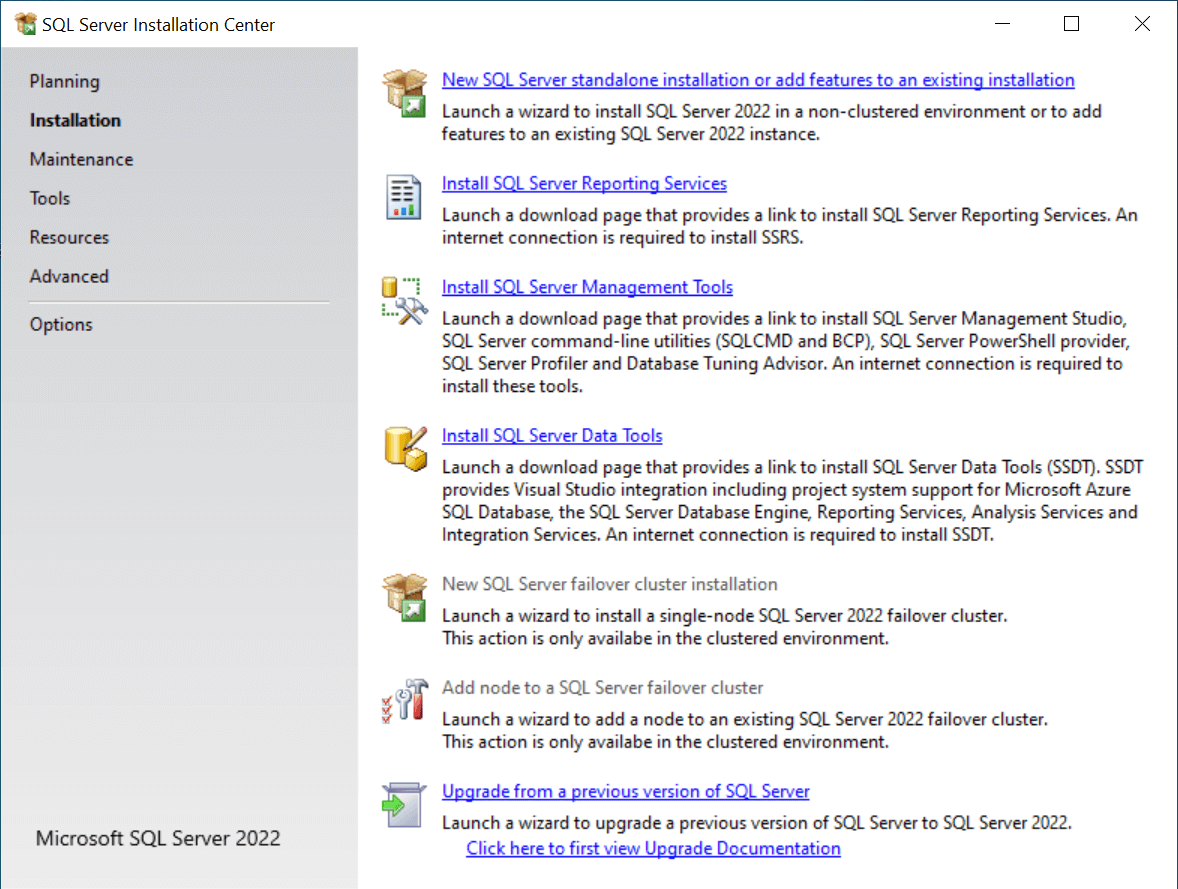
The first feature to install is the SQL Server Database Engine itself; launch the setup utility from the downloaded media, select the Installation tab and click on new SQL Server standalone installation or add features to an existing installation:
I am using the Developer edition in this series, so I have marked the Specify a free edition and set the drop down to b[]Developer[/b]; click Next to continue:

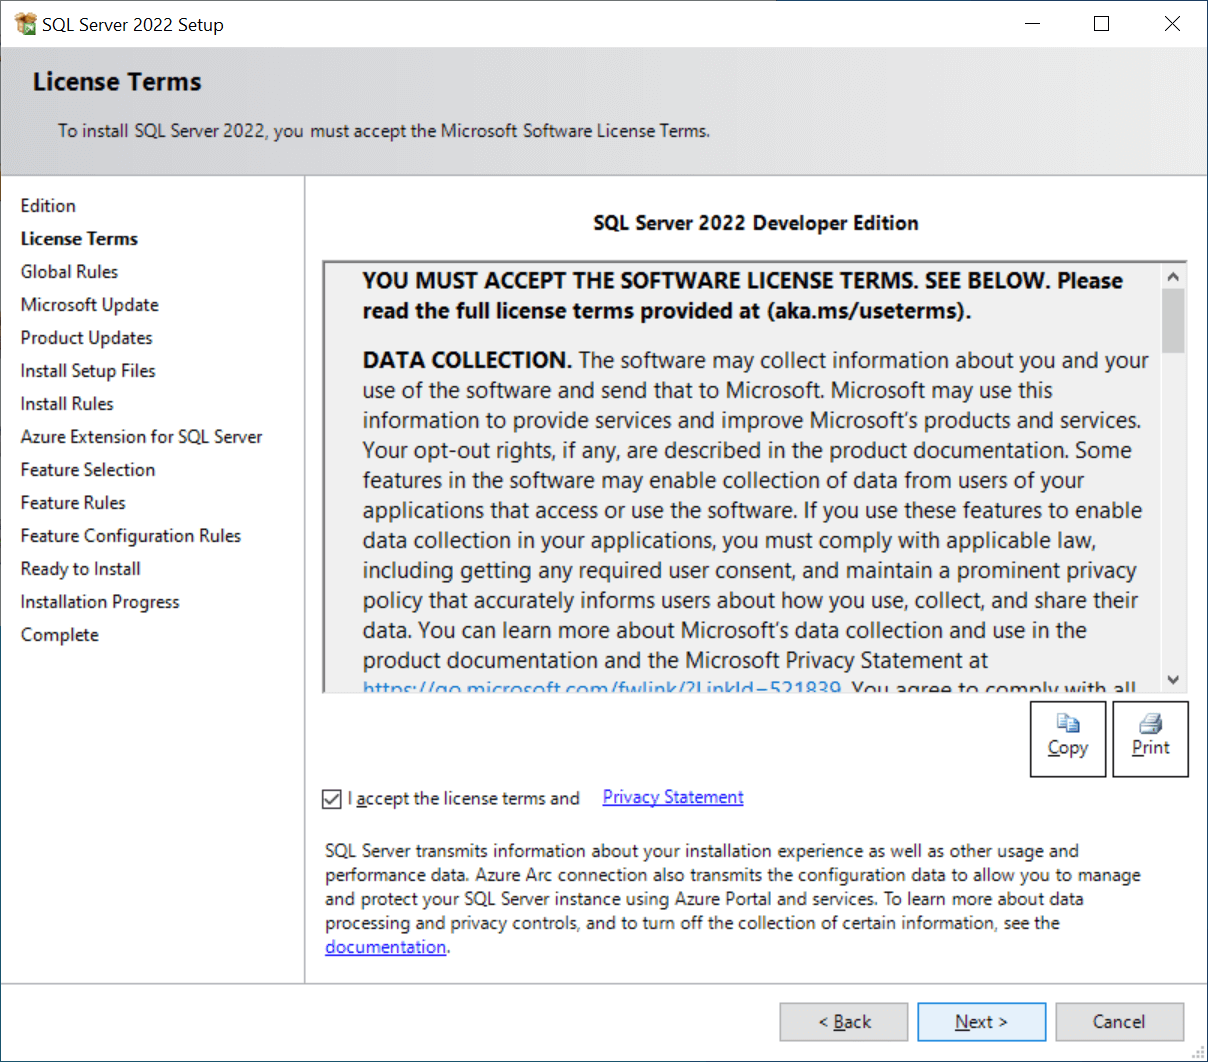
Accept the terms of the license agreement and click Next:
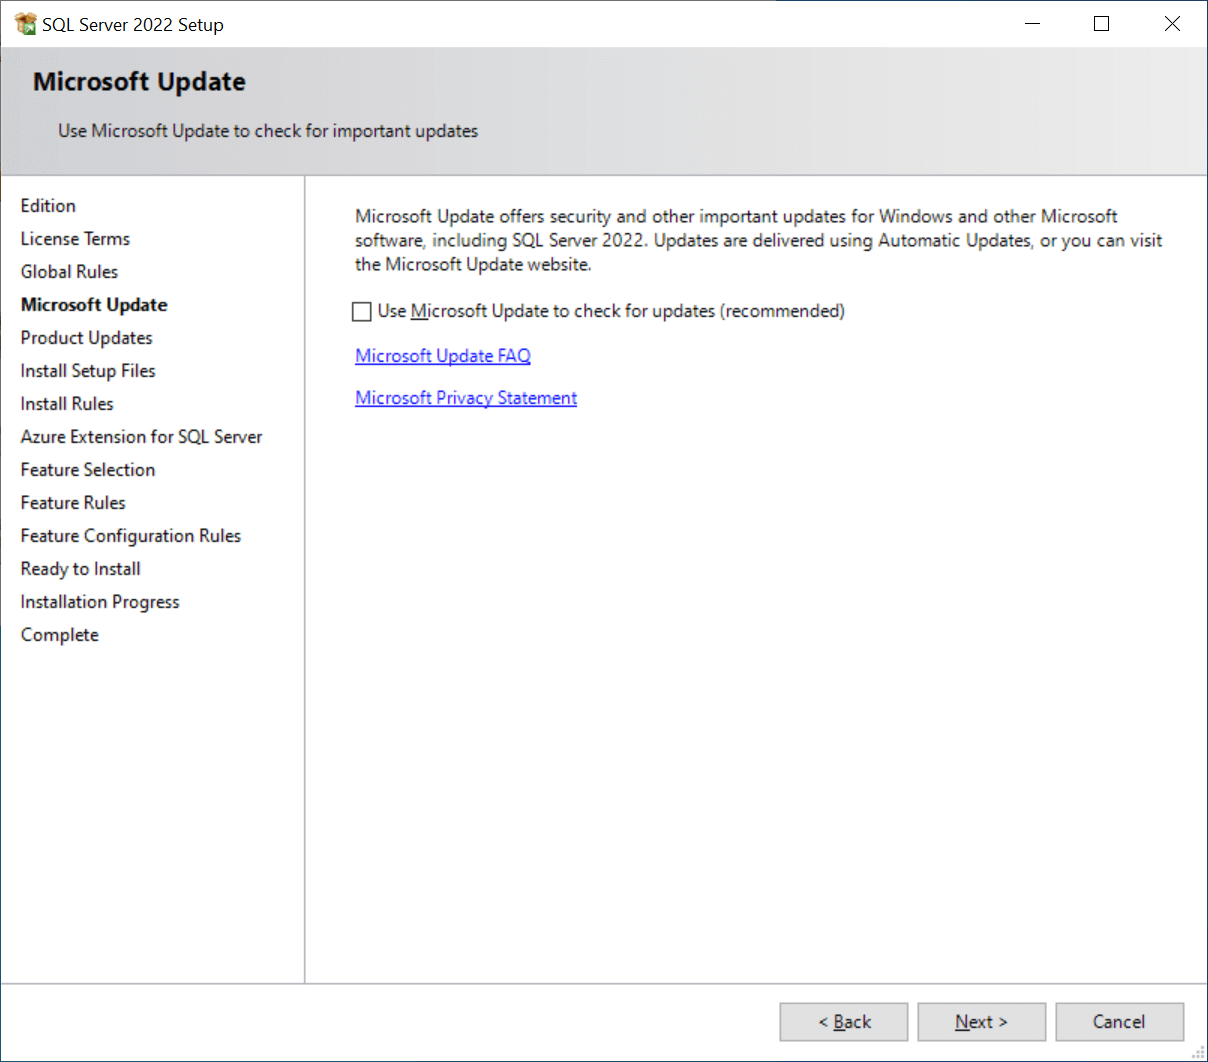
Decide if you want to accept the recommendation of using Microsoft Updates to check for updates or not; mark the checkbox if you do and click Next:
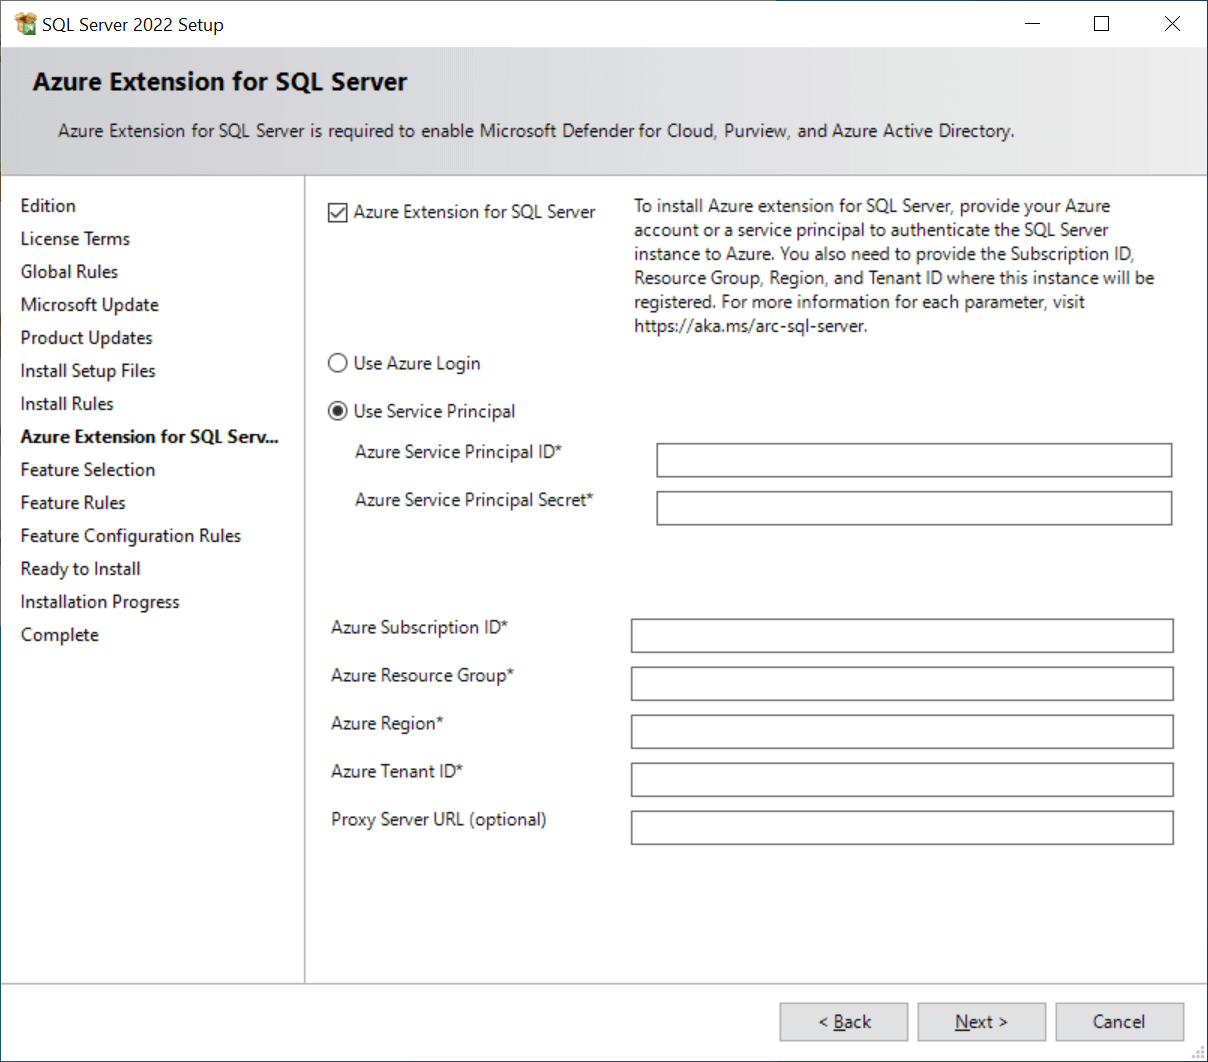
If you want to use the Azure Extension for SQL Server complete the details; I’m not, so I have unmarked the checkbox. Click Next to proceed:
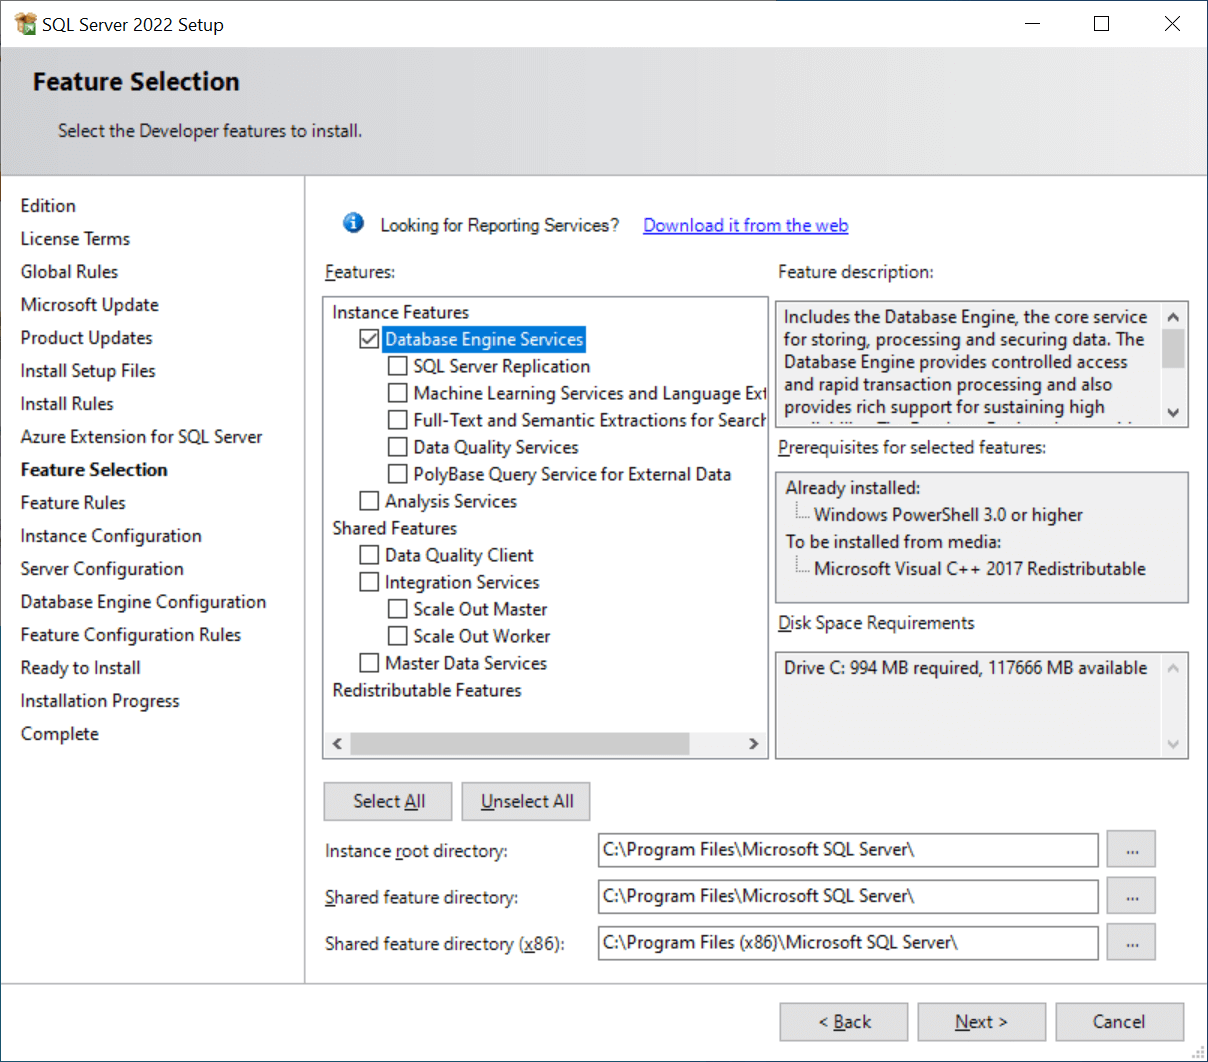
Mark the Database Engine Services checkbox; click Next to continue:
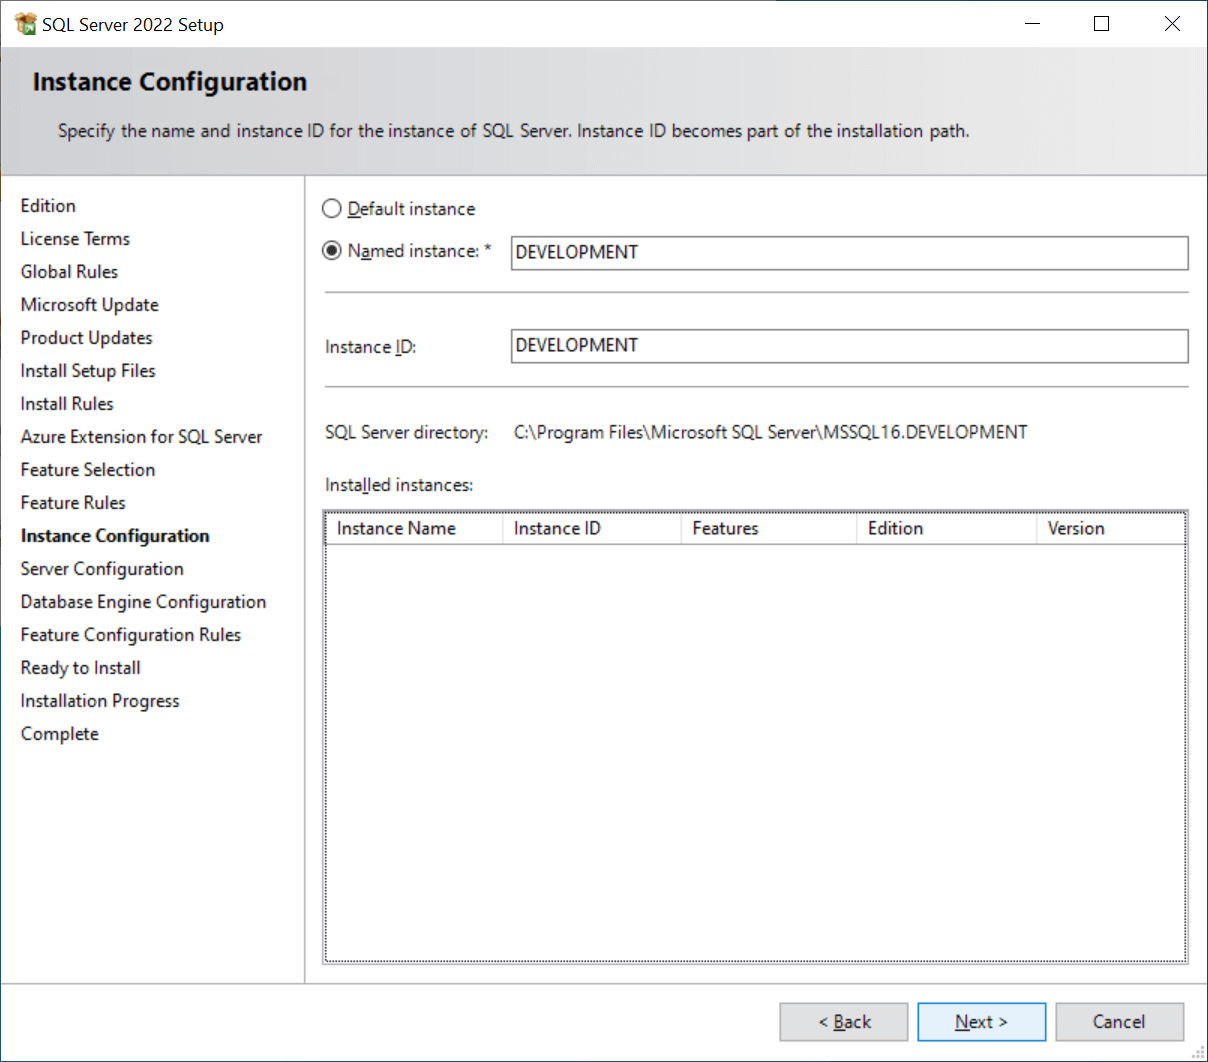
You can install SQL Server as the default instance, but I typically opt to install it as a named instance, which is useful f you plan to have multiple instances of SQL Server installed on the same machine.
To install a named instance, mark the Named Instance radio button and enter a name in the Instance ID field and click Next:
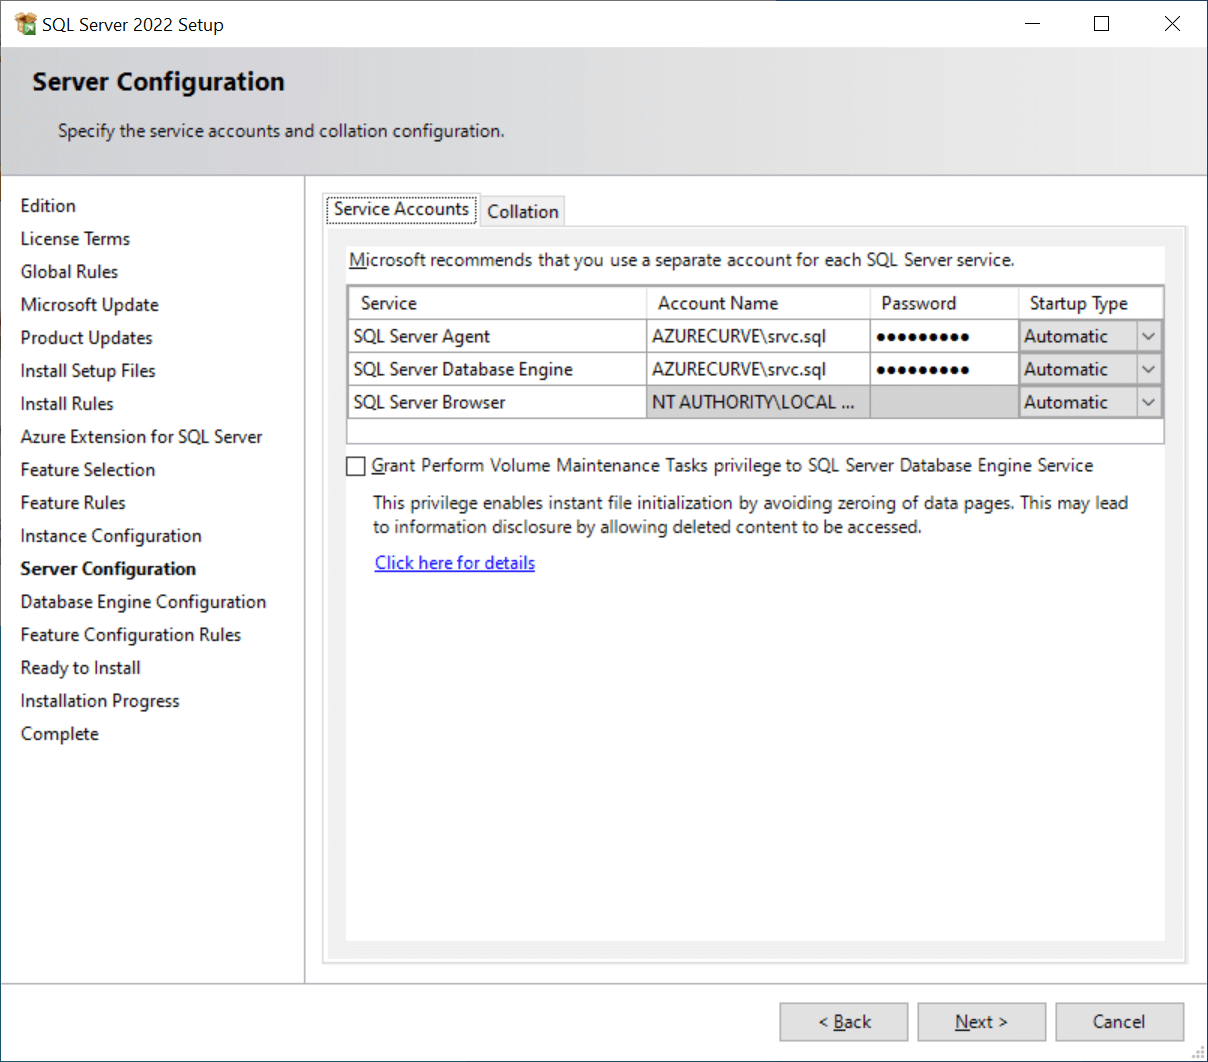
While you can run SQL Server using system accounts, I prefer to use domain accounts; enter the Account Name and Password against the SQL Server Agent and SQL Server Database Engine and make sure the Startup Type of all rows is set to Automatic.
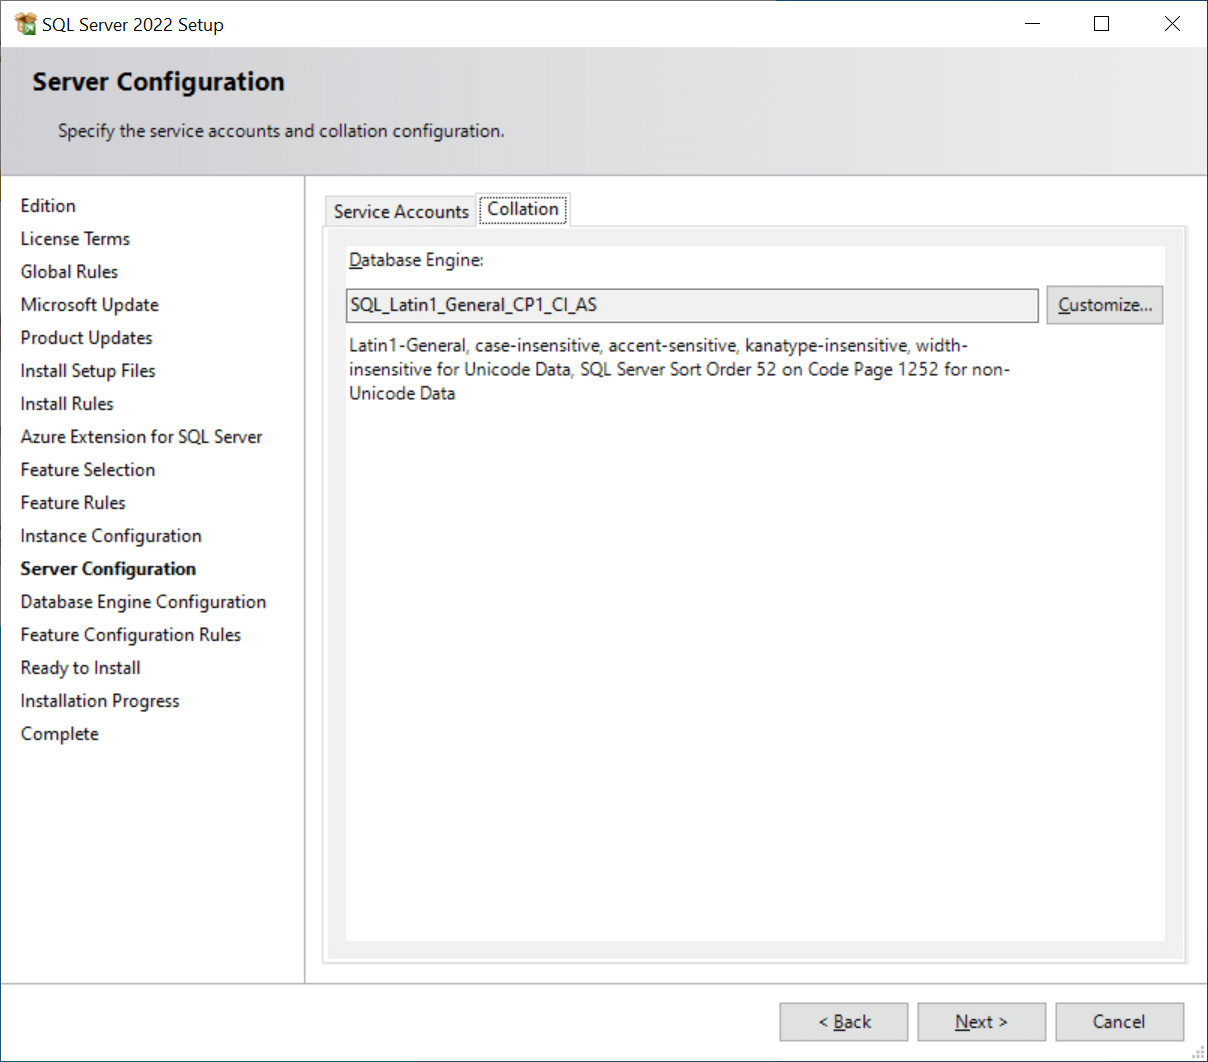
Change to the Collation tab to verify the default collation; click the Customize button to pick a different collation. Click Next to continue:
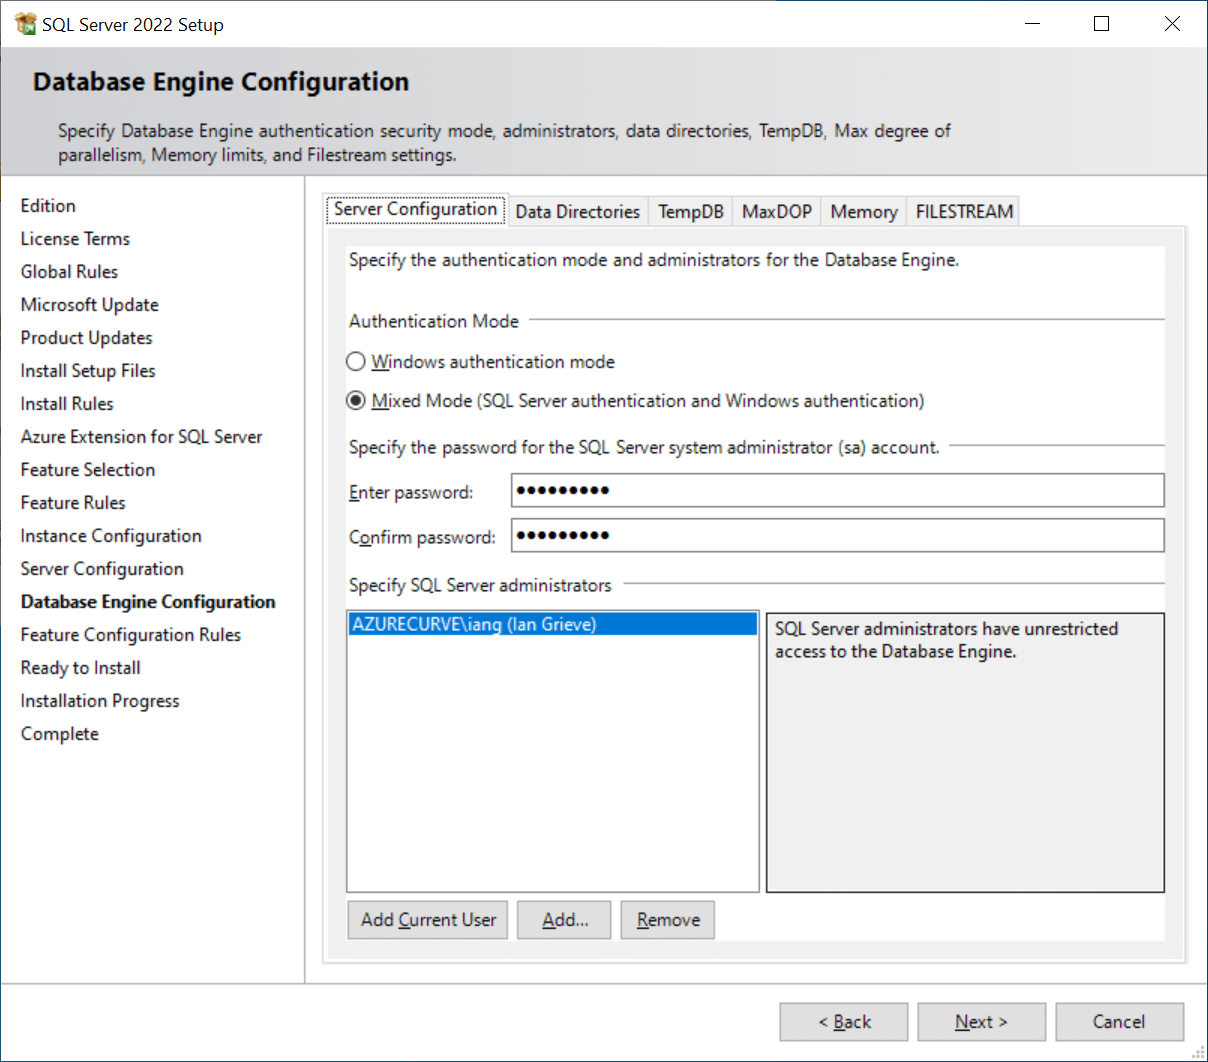
Select the Authentication Mode and, if you selected Mixed Mode, enter and confirm the Password.
Click the Add Current User button to make the logged in Windows user an admin; click the Add… button to add additional users SQL Server as administrators.
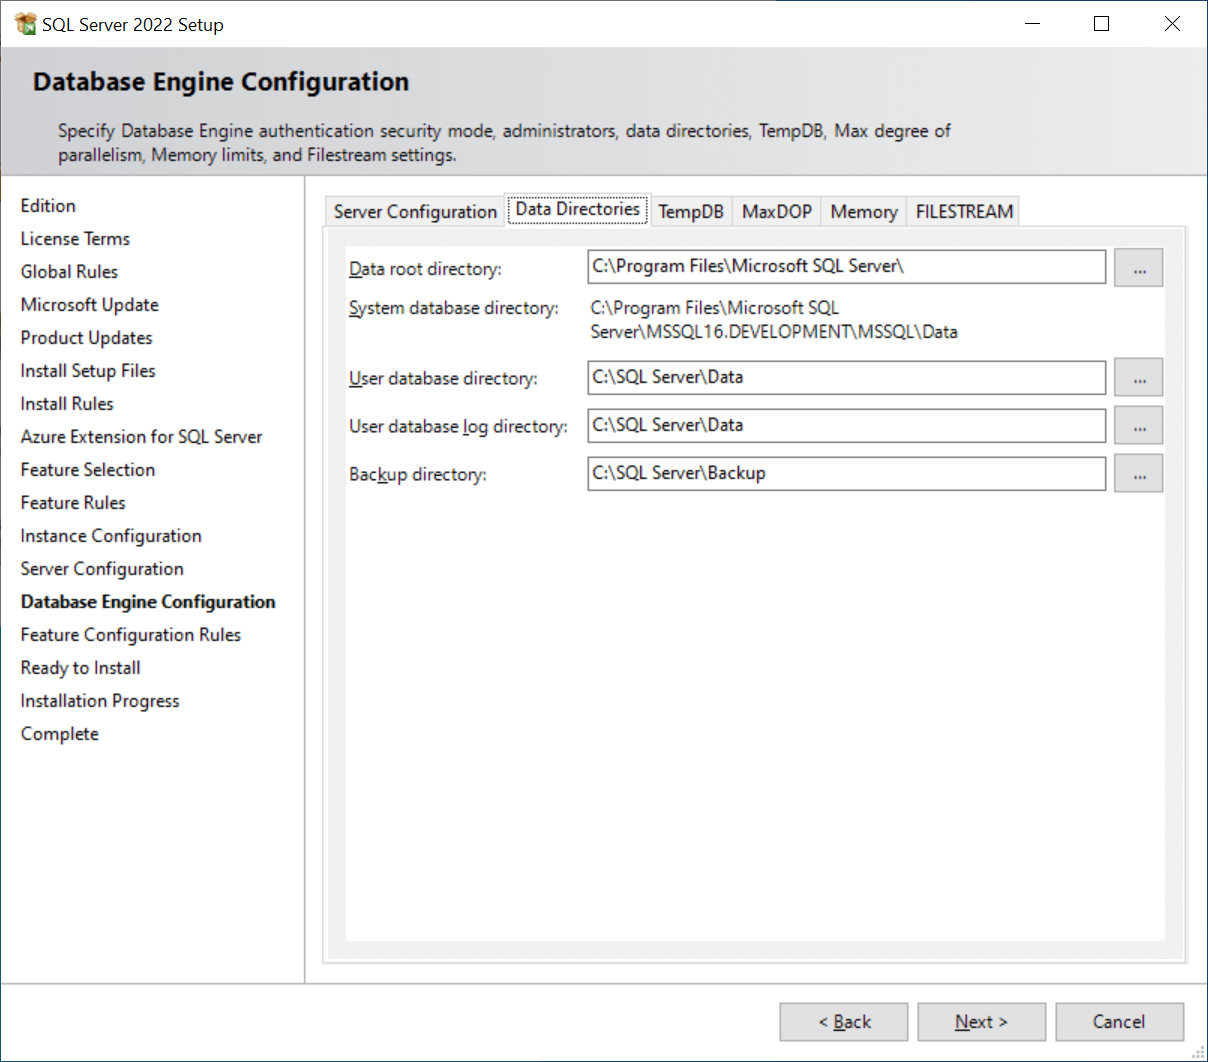
To make managing backups and other files a bit easier, you can switch to the Data Directories[/] tab and change the directories; once done, click Next to continue:
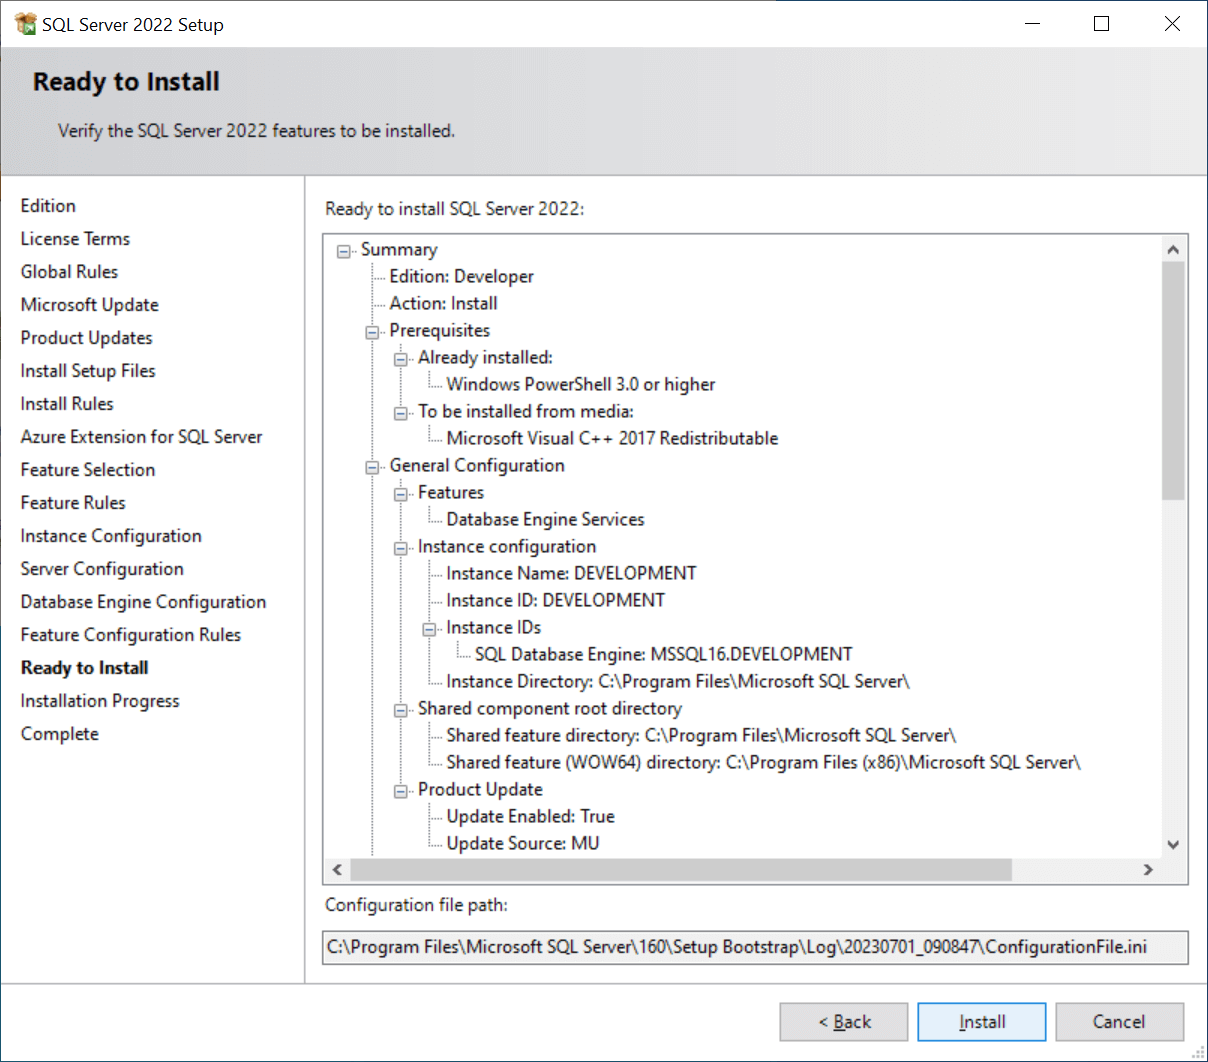
Review your configuration options on the Ready to Install page and click Install:
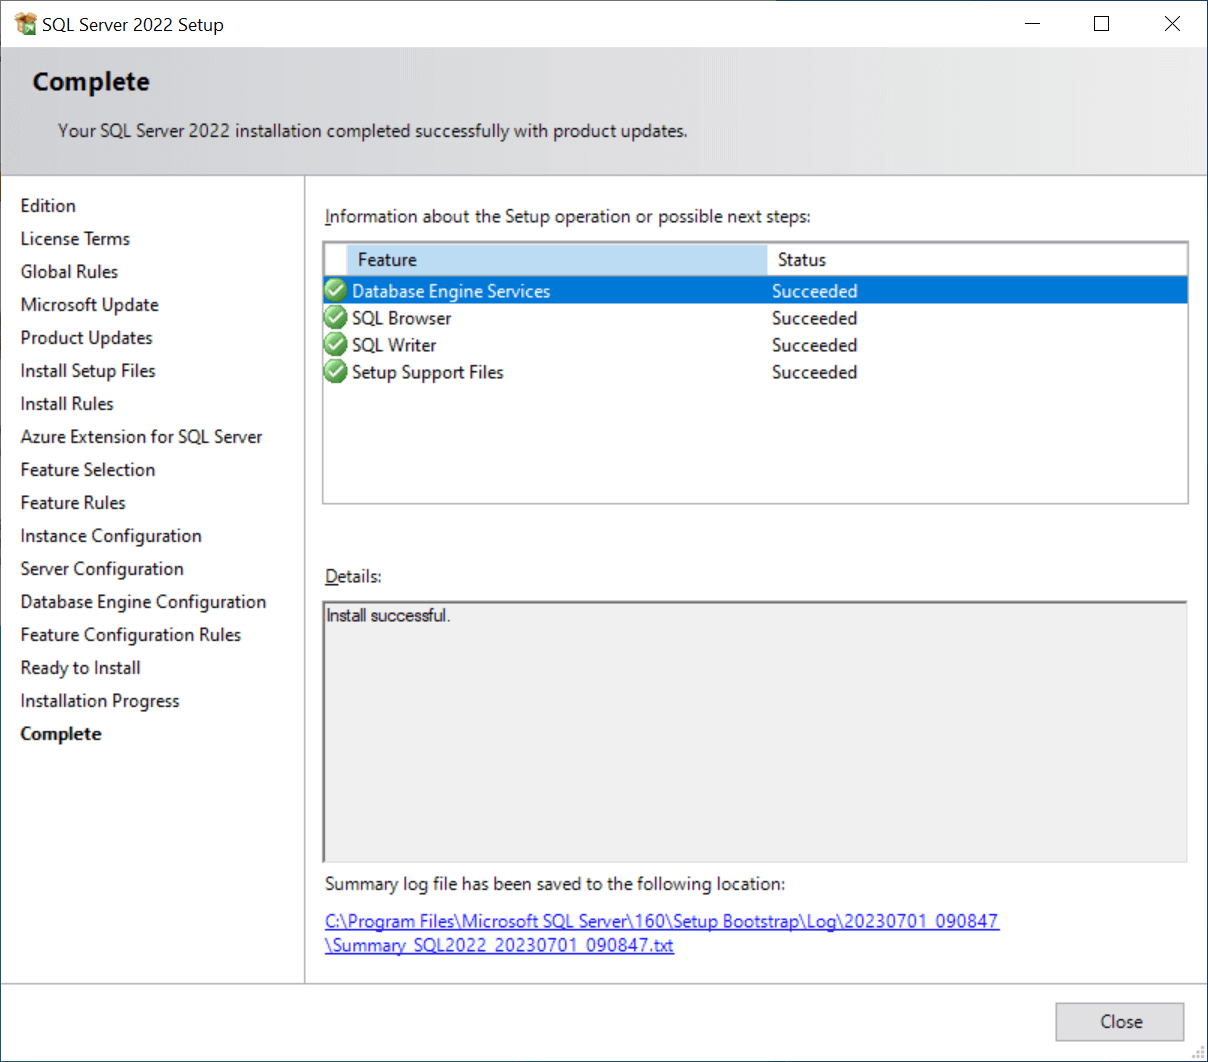
Once the installation is complete, click Close:
With the SQL Server Database Engine installed, we now have the bare minimum required available for use; we can install other applications which require a SQL database. However, there are a number of other elements to SQL Server which can be installed and which I will step through in subsequent articles in this series.
Click to show/hide the How To Install Microsoft SQL Server 2022 Series Index
What should we write about next?
If there is a topic which fits the typical ones of this site, which you would like to see me write about, please use the form, below, to submit your idea.