 This post is part of a series on creating a Journal – Standard integration using SmartConnect from eOne Solutions; I recently posted a series on Implementing SmartConnect.
With the prerequisites decided, in this post, I’m going to start creating the Journal – Standard integration, the first step of which is to define the Source & Destination information.
To create the integration, launch SmartConnect and on the Map tab click the Create button on the action pane:
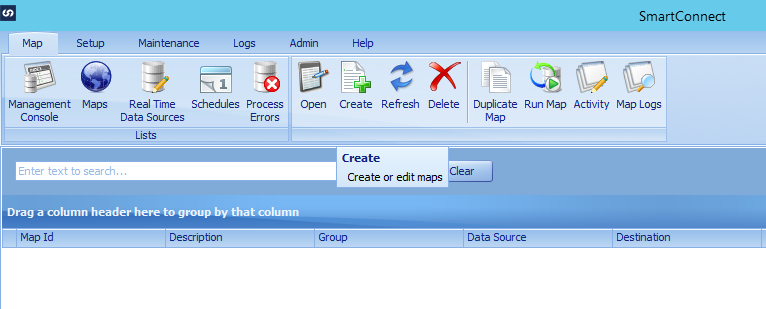
The Map Setup window will be launched.
Enter JOURNAL_STANDARD in the Map ID field and Journal - Standard in the Map Description field.
The next step is to define the Data Source:
- Data Source Type should be set to Bulk Data Load.
- Set Data Source to Folder Data Source.
Despite being in the top section, we need to define the Settings before we can set the Key Fields.
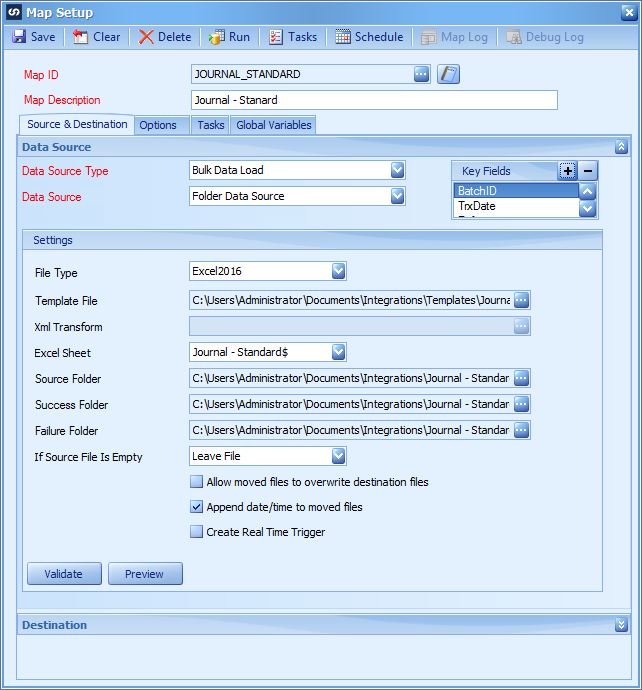
There are quite a few fields in the Settings section:
- Data Source Type should be set to Excel2016; if you’re using a later version of Excel, this is still the crrect item to pick.
- Template File should be set via the ellipsis field to an empty file which will be used as the template for this map; only files matching the format of the template dropped into the folder will be processed.
- Excel Sheet is the sheet in the workbook which is to be processed.
- Set the Source Folder which is the folder the map will poll for the data.
- Success Folder is the folder to where the processed files are moved when they are successfully integrated.
- Failure Folder is the folder to where the processed files are moved if they fail to integrate.
- If Source File is Empty I’ve set to Leave File.
- Mark the Append date/time to moved files as this will give you an easy way to check when the files were processed and makes sure that each moved file has a unique name.
The final step in configuring the file, is to define the Key Fields back near the top of the window. Click the plus icon button next to the Key Fields header and select the relevant fields:
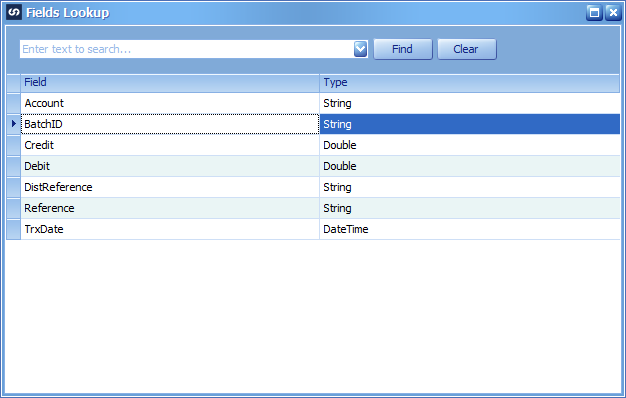
I selected the three fields which comprise the journal header:
- BatchID
- TrxDate
- Reference
Click the Validate button to check that everything is correct:
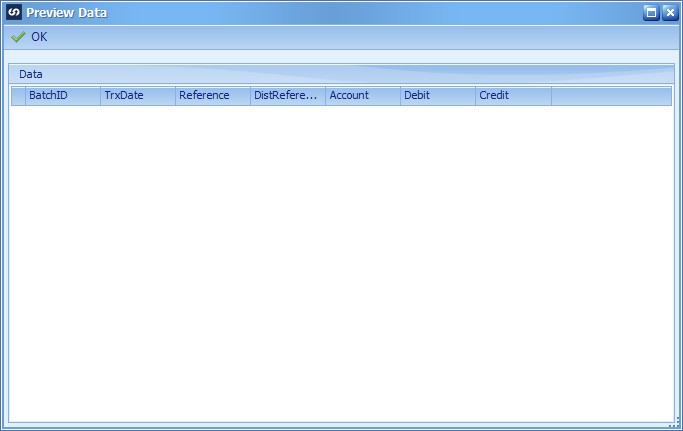
Click OK to dismiss the message and then click Preview to preview the data; I can see the correct column headers, but there is no data to preview as I haven’t actually entered any yet:
With the map itself created, the next step is to creating the field mapping which I will cover in the next few posts.